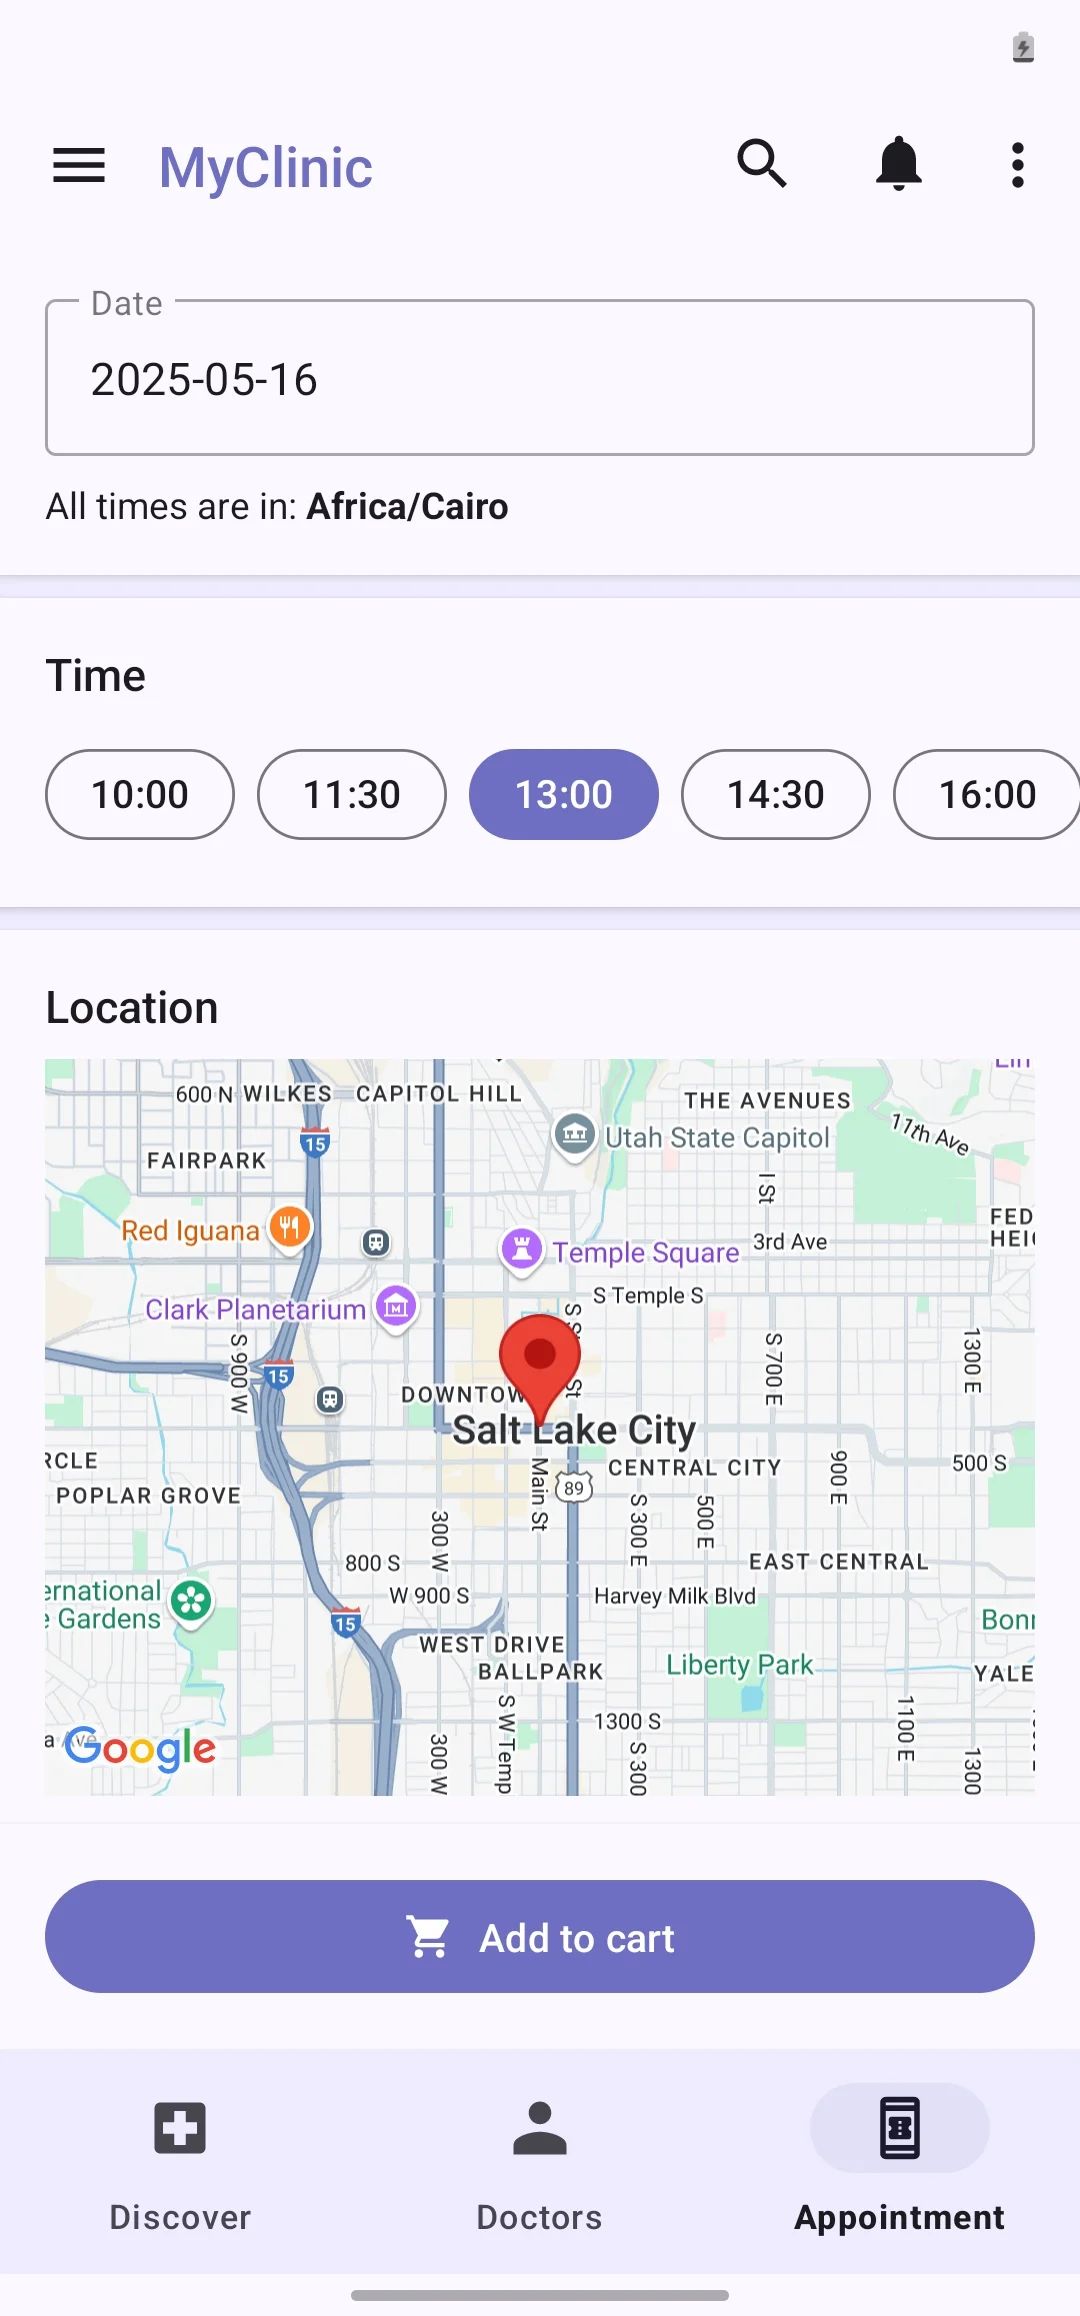
The Booking Spotlight highlights a specific appointment. Think about a Clinic App; you can use the booking spotlight component to show a cardiology appointment for a one-on-one consultation.
How To Install The Component
This component can be installed in:
- App's Navigation Page ✓
- App's Side Menu ✓
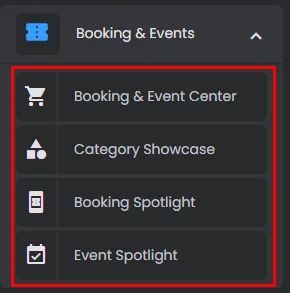
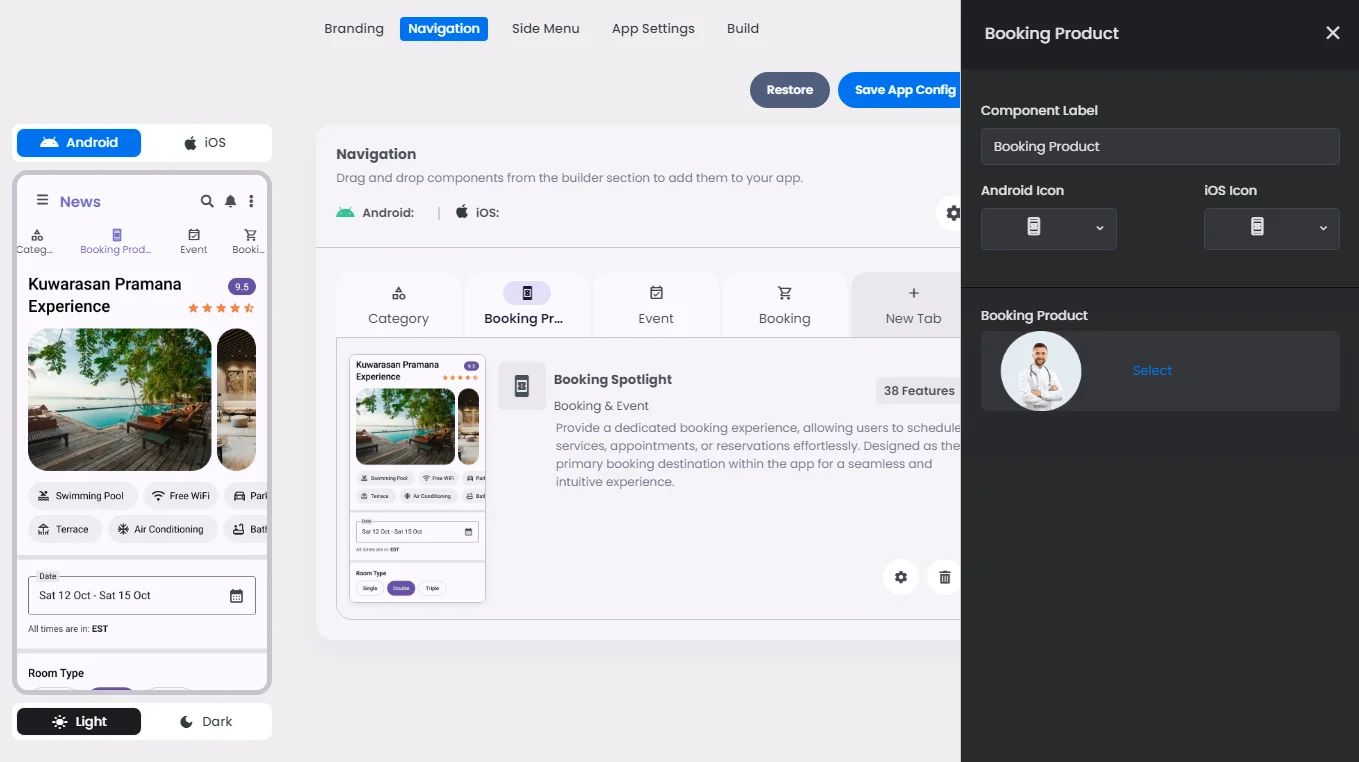
You can find the category showcase component in the Booking & Events section. Click or drag and drop the components into your navigation or side menu to install them.
How To Configure The Component
Booking Spotlight shows a certain booking on your app.

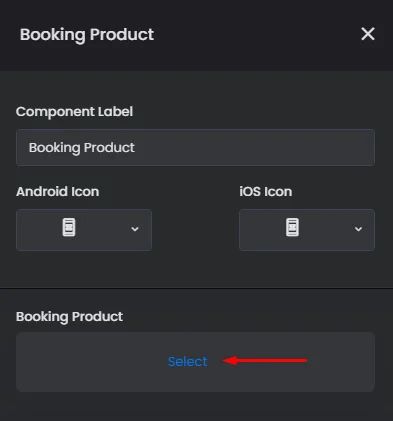
Click the gear icon to configure the component setting.
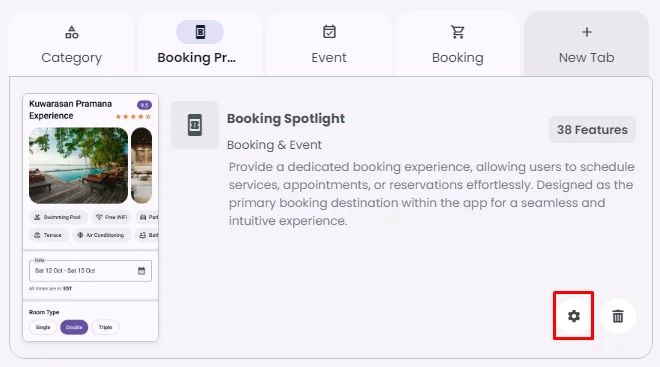
Rename the component, choose an Android and an iOS icon for it and tap ‘Select’ to assign a product to the component.
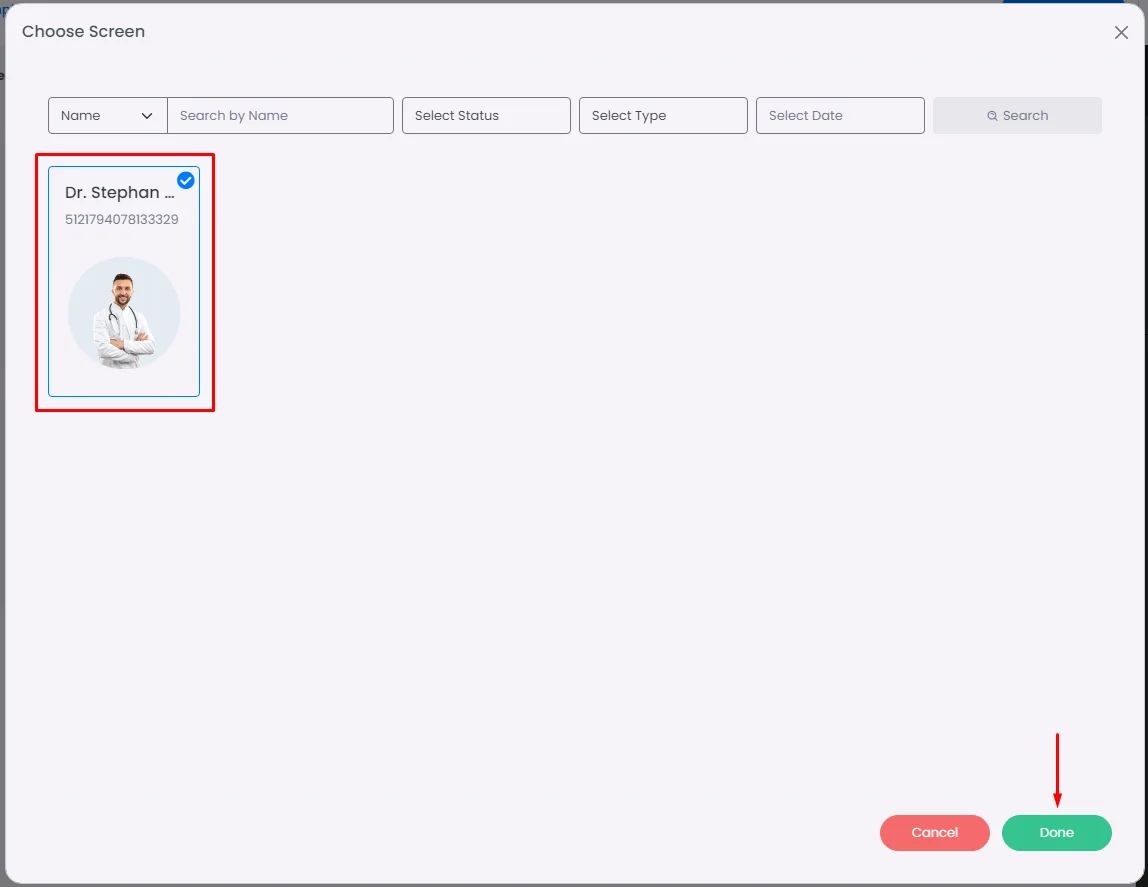
Choose your product and click ‘Done.’
Must-Have Components
You must include all your payment components
- Order Manager Spotlight: It shows all booking & event orders created by the user, including all the order details (date & time of created order, payment method type, status, etc.).
- Shopping Cart Spotlight: It allows users to add, review, and manage scheduled bookings or events before proceeding to checkout.
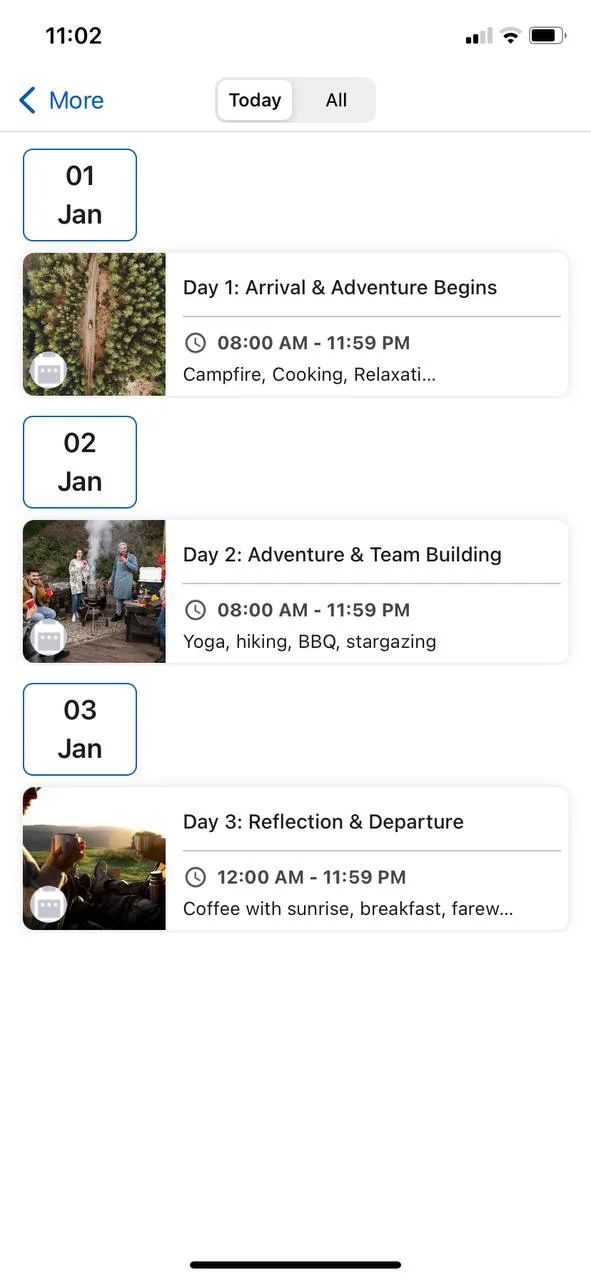
- My Calendar: Include a calendar component so that customers may track their event schedule throughout the day or at a specific time by creating a complete booking or event calendar (agenda).
Create a calendar for multi-day events; for example, if you have an event spanning several days with a unique program for each day, using a calendar to organize daily schedules would be highly beneficial. It helps users easily track their activities and ensures they don’t miss any scheduled times.
The created calendar can only be posted in a feed center or a channel. Click here to learn how.