
Provide products with full details, such as the price, category, and several product images.
📋 Steps
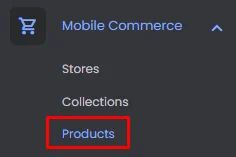
From the admin menu, click 'Products.’
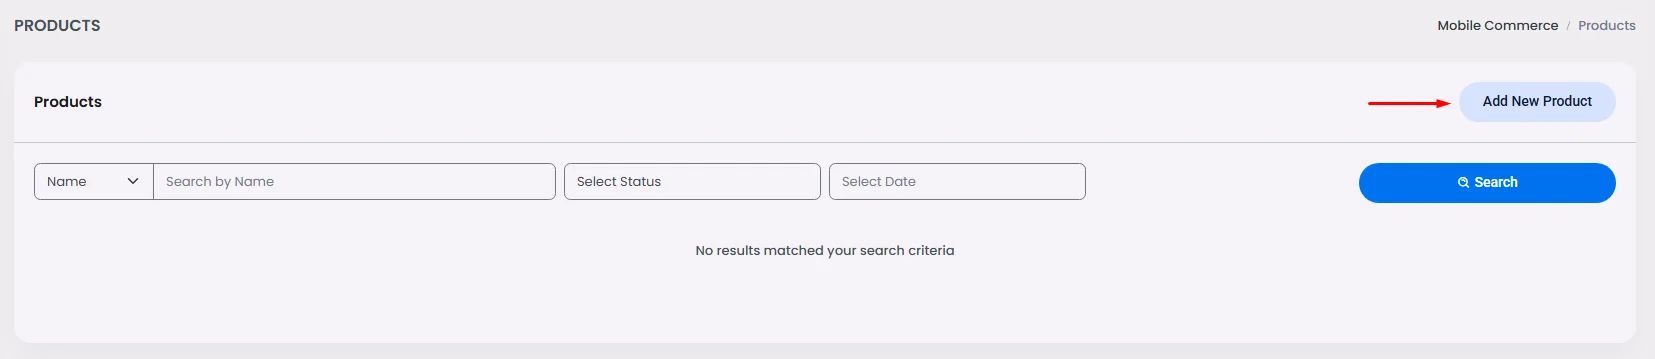
Click ‘Add New Product’.
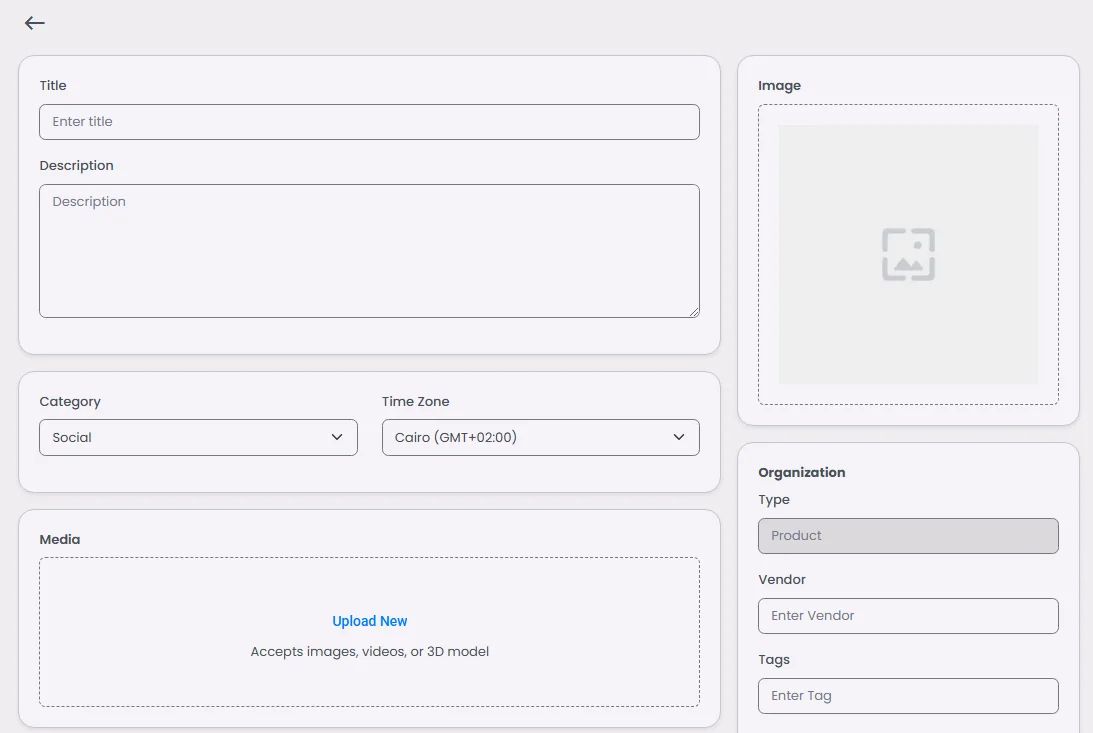
A window will appear where you can enter your product title and description, category, time zone and product images.
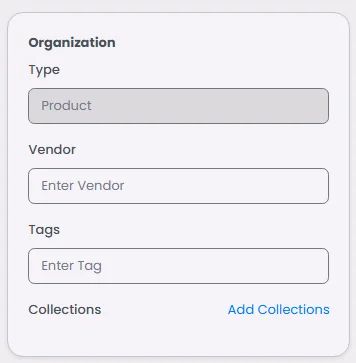
Organization
Add your product vendor, add tags and add collection
Note that you need to create a collection first!
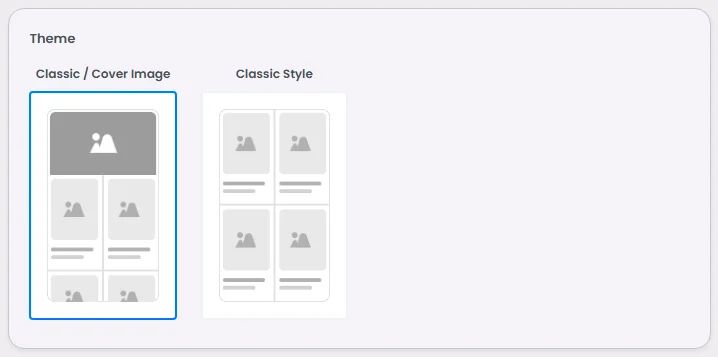
Theme
Choose your theme.
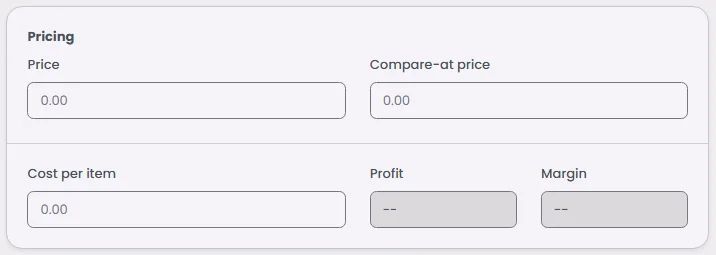
Pricing
- Price: Add the selling price you want to use.
- Compare-at price: This section is for you if you want to examine how your product appears both before and after a discount. Add your product price before the discount. The discounted price will be calculated and displayed to users as a percentage.
- Mark 'Charge tax on this product' if you charge tax.
- Cost per item: Add your product's original price.
- Profit and Margin will be calculated automatically once you add the cost per item.
For instance, if a product costs $85 to produce but costs $100 to sell, the profit and margin will be calculated automatically to demonstrate to the business owner how much progress he has made.
Note that cost per item, Profit, and Margin are only for the business owner, as users won't be able to see these choices as it calculates and tracks how much money you have made with your business.
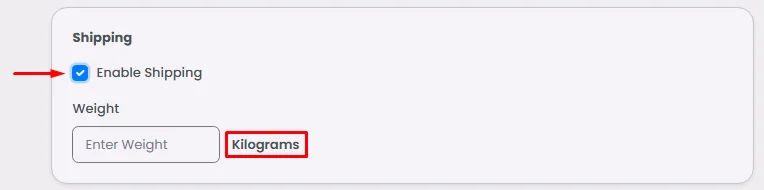
Shipping
You can enable shipment. Mark ‘Enable Shipping’ and insert your product weight per kilogram.
Check this document to know how to configure your shipping settings.
And when you click ‘Create,’ additional options will appear:
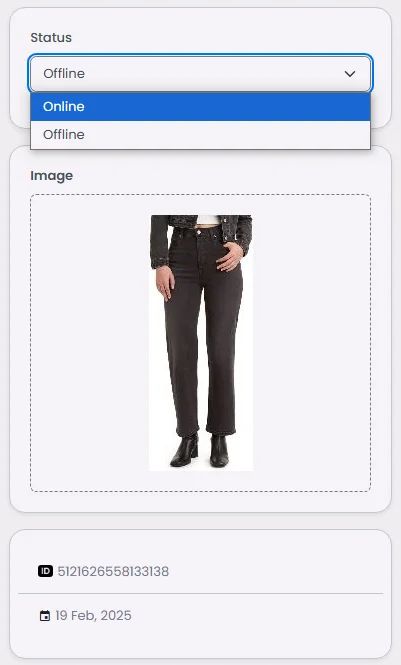
Status & Information
Above the product image, select the state of your product; if it isn't in stock, select ‘Offline,’ and below, you’ll find the product's created ID and date of creation.
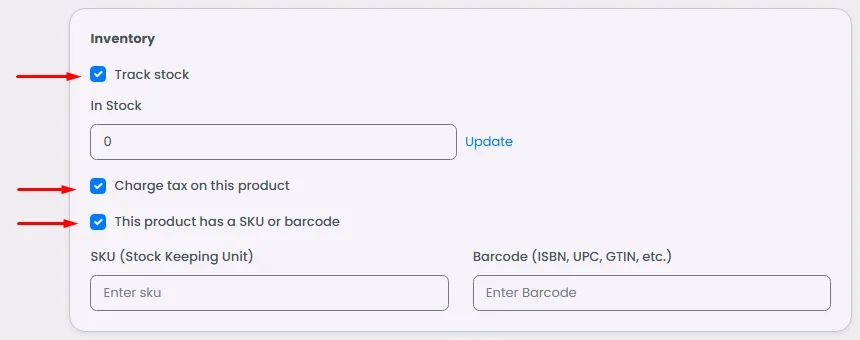
Inventory
- By adding the quantity of stocks, you can keep track of it. Additionally, you can update it if your product line grows.
- If you charge tax on this product.
- If your product has an SKU or barcode.
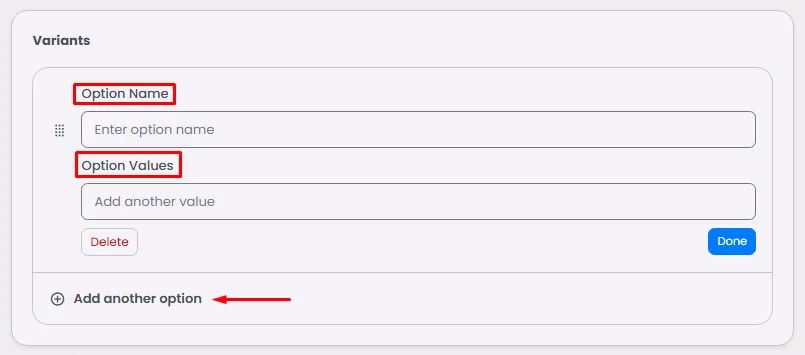
Variants
This section is about setting up product options for users, as they can choose from multiple pre-selected items—think of small, medium, and large-sized dresses—and the user gets to choose their size, their color, or both. Click ‘Add options,’ and let’s start:
- Option Name: Add the category name of your choice.
- Option Values: Add your choices
- Add another option: You can add another option by clicking ‘Add Options,’ and once you're done, click 'Done' to save your settings.
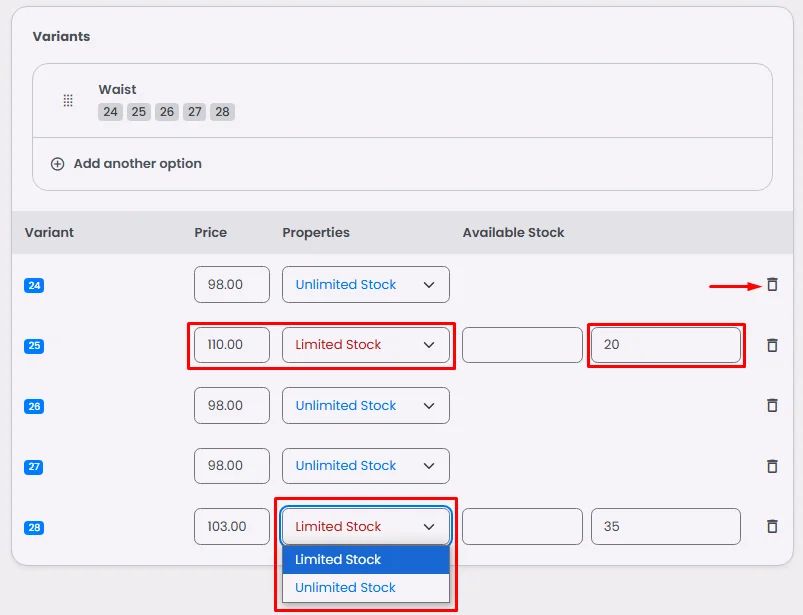
You can delete, add a specific price for certain options, and choose the status of a specific choice: limited or unlimited stock. If it’s limited, don’t forget to update how many units are left of this size option.
And don’t forget to save.