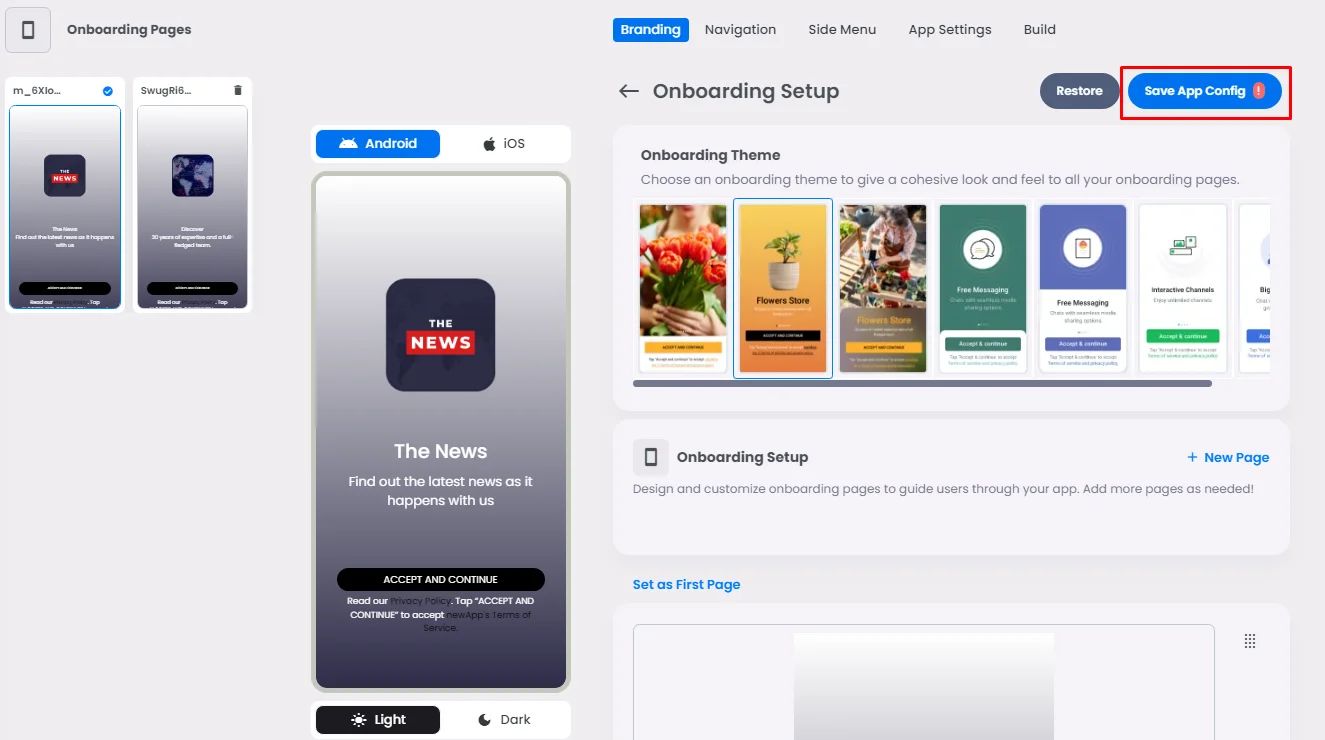
The onboarding theme is the first thing your users will drop their eyes on; you can choose one of those, add a picture with text, and design it on your own.
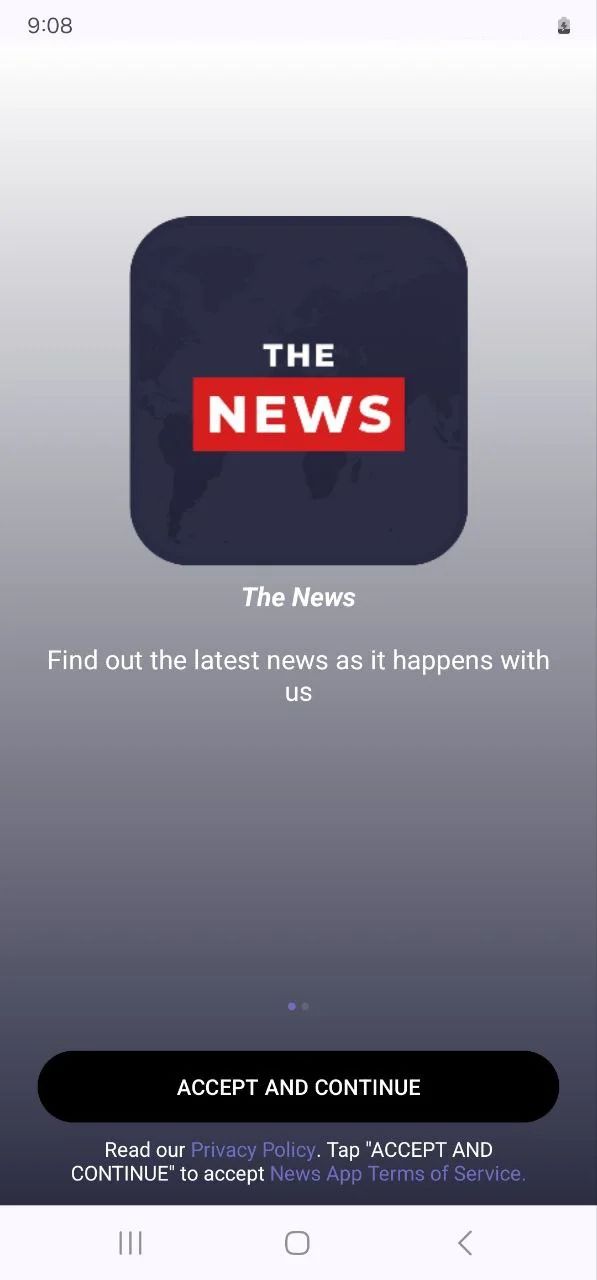
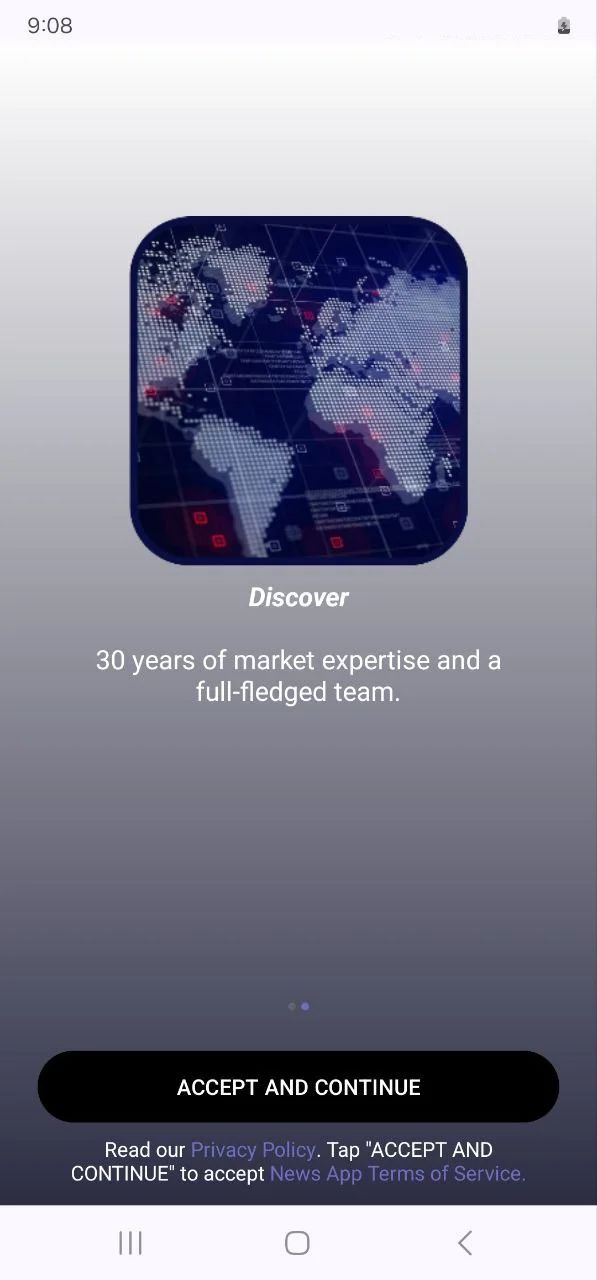
Configuration
If you want your users to be able to get into your app quickly, it's best to have no more than three welcome screens. This way, they won't get bored looking at screens.
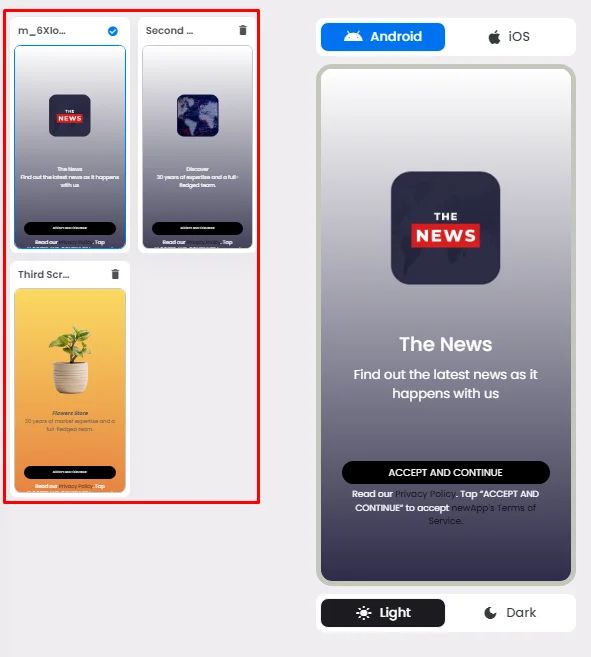
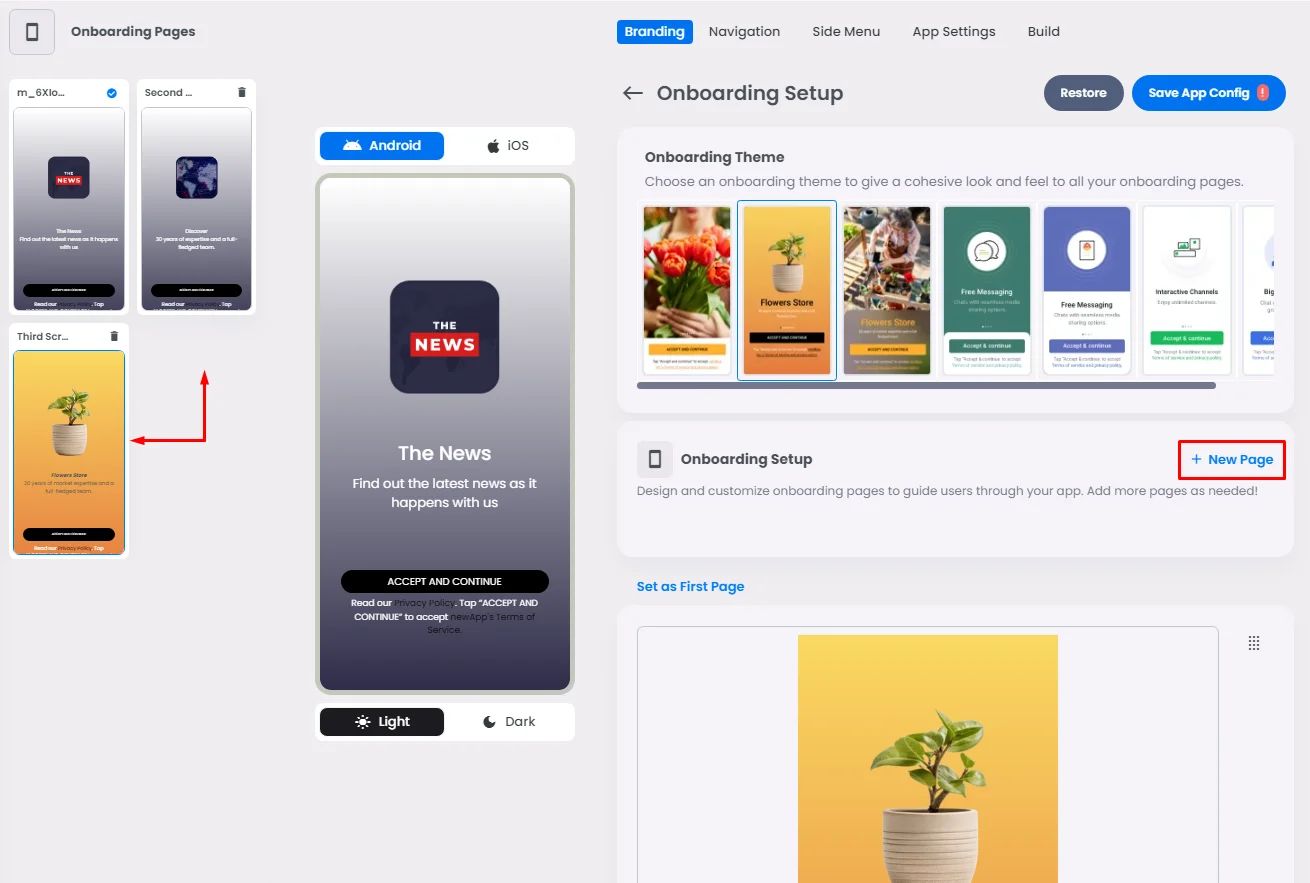
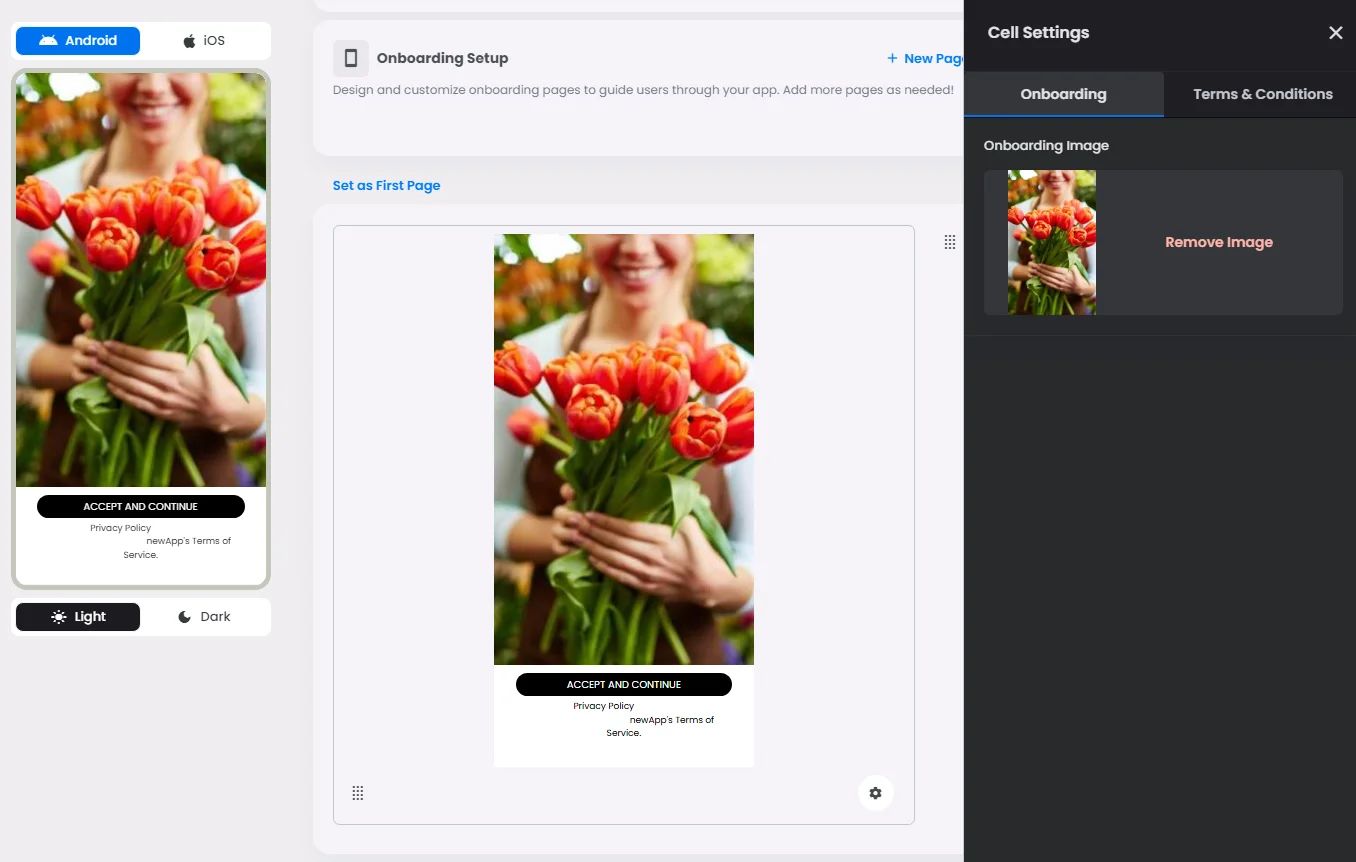
To add extra screens, click '+ New Page' and screens will be added. To begin editing a screen on your own, click on each one and follow the next set of steps.
Onboarding Design
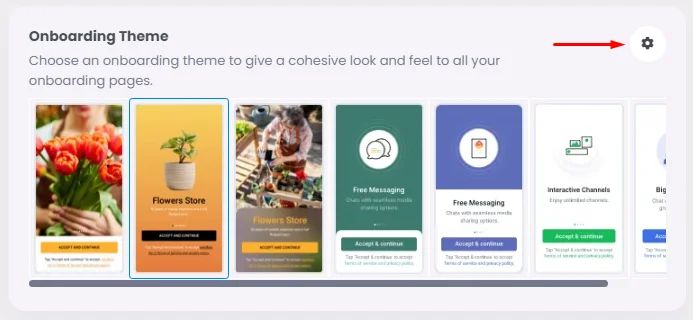
Click the gear icon to open the screen settings and start editing them.
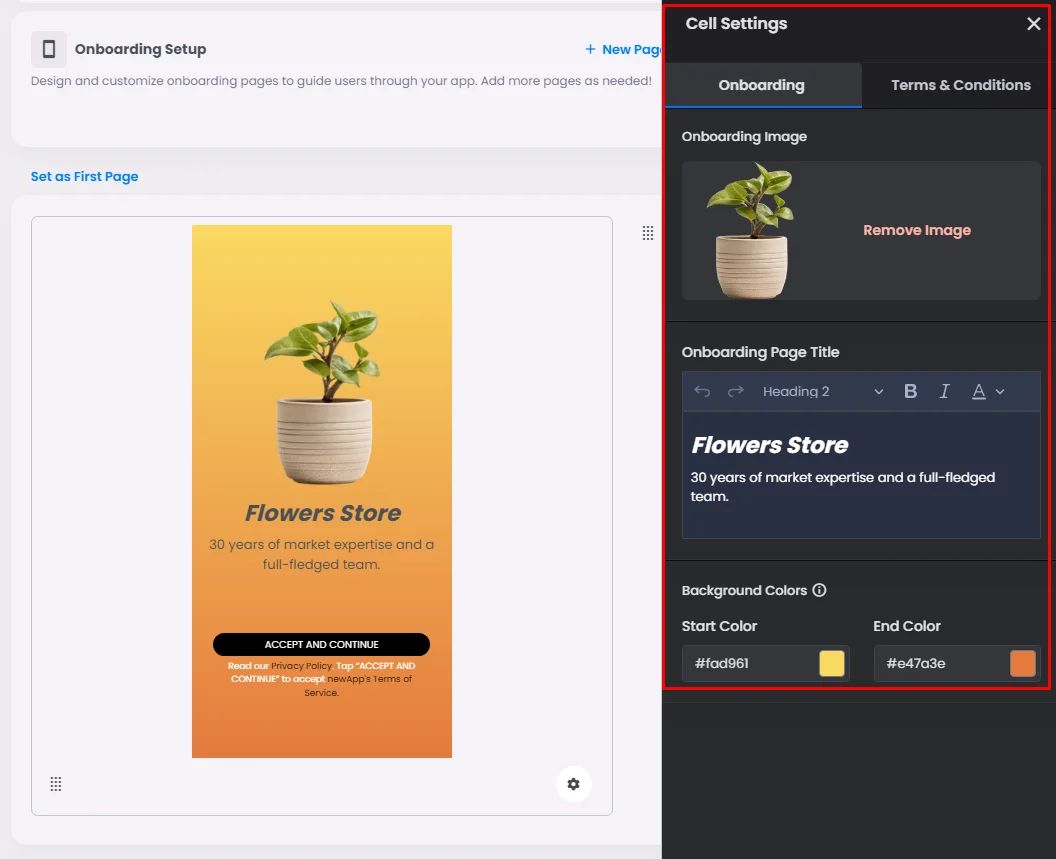
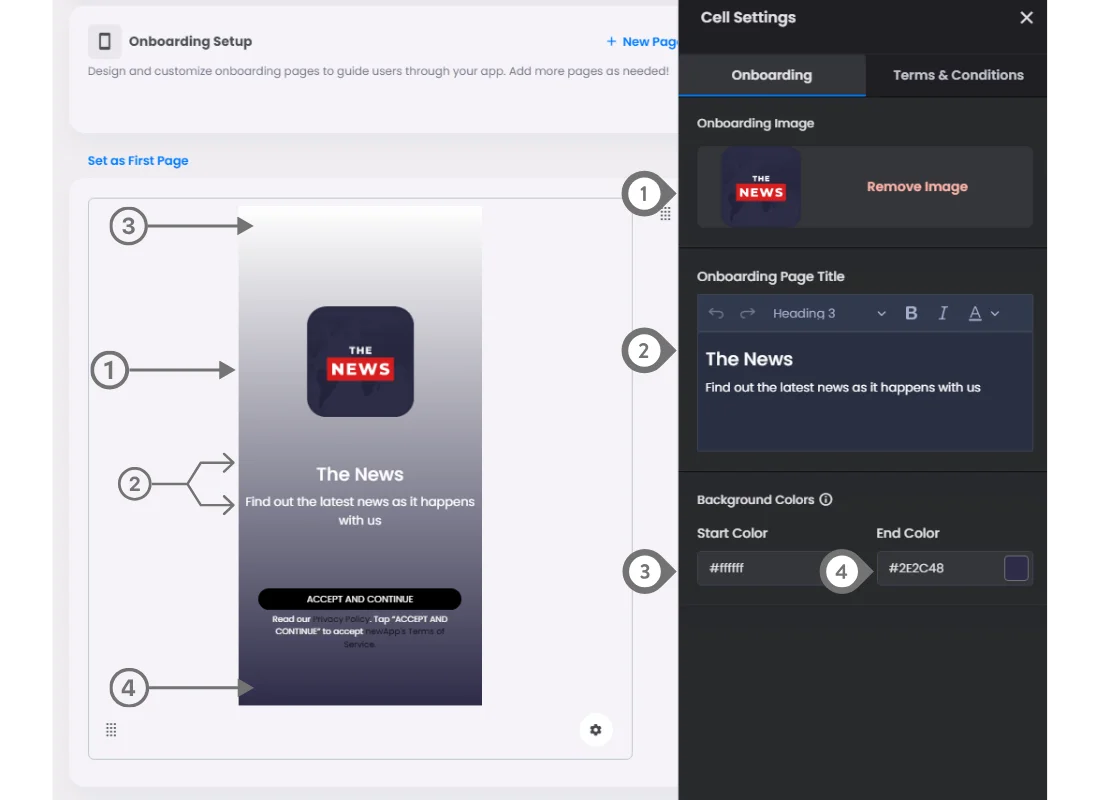
- Onboarding image: Upload a logo for your screen.
- Onboarding Page Title: Add your brand heading and a small description of your business or your app's purpose. You can experiment with the text editor by changing the color of the text, adding headings, and adding paragraphs.
- Background Colors:
- Start Color: The top screen’s color.
- End Color: The bottom screen’s color.
Terms & Conditions
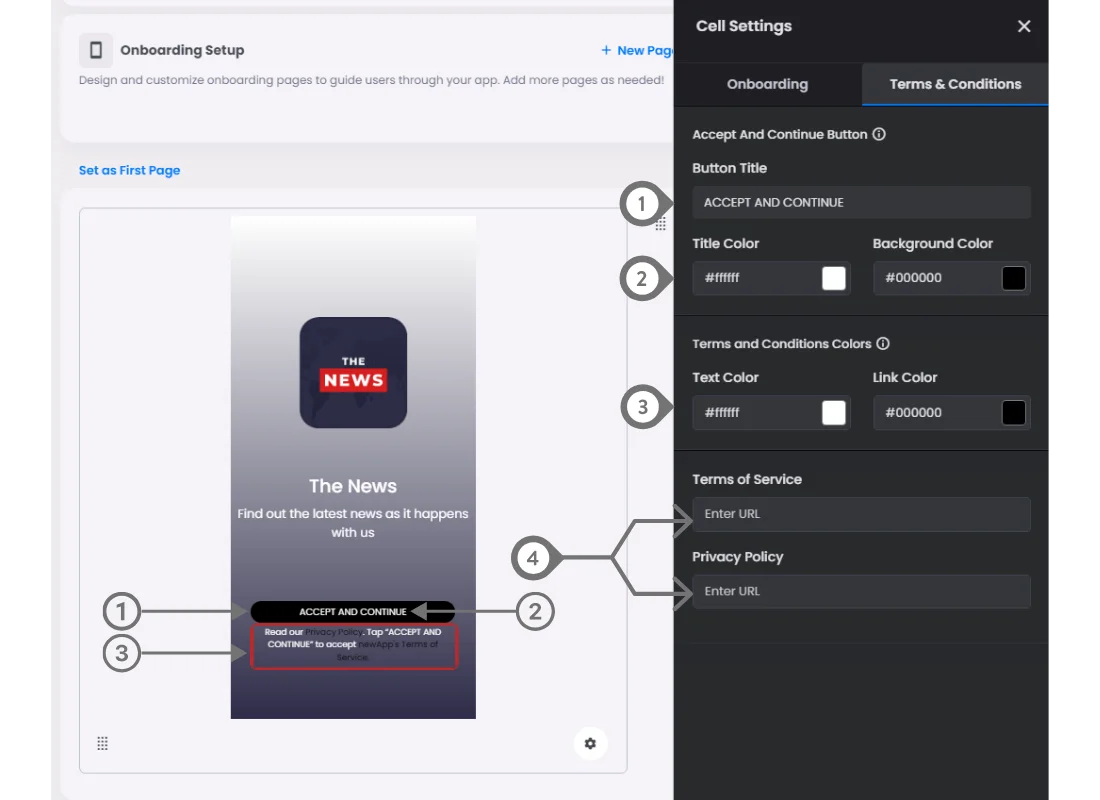
- Accept And Continue Button:
- Button Title: If you want to add specific button text for your app entrance.
- Title & Background Color: You can change the button title color and the background color [button color].
- Terms and Conditions Colors:
- Text and Link Colors: The text color is the normal text written, and the link color is the 'Privacy policy' and 'nandbox Inc's Terms of Service' color.
- Add your terms of services and privacy policy links.
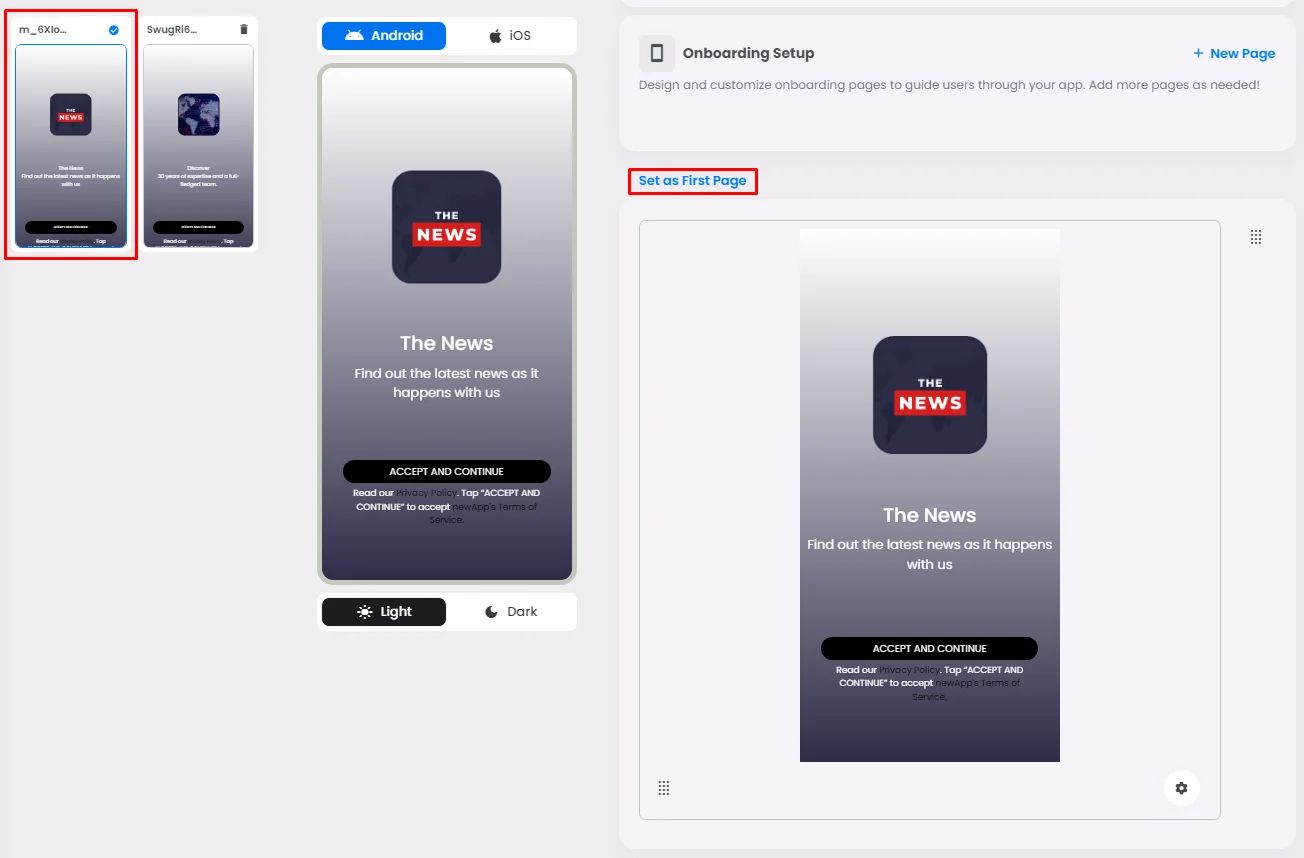
If you made multiple welcome screens and want one to be the first view when people open your app, click 'Set As First Page' on the screen you want.
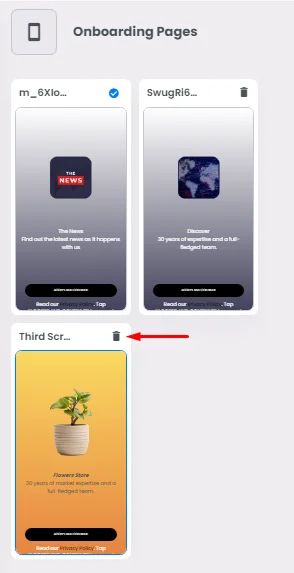
And if you want to delete a certain page, click the trash icon.
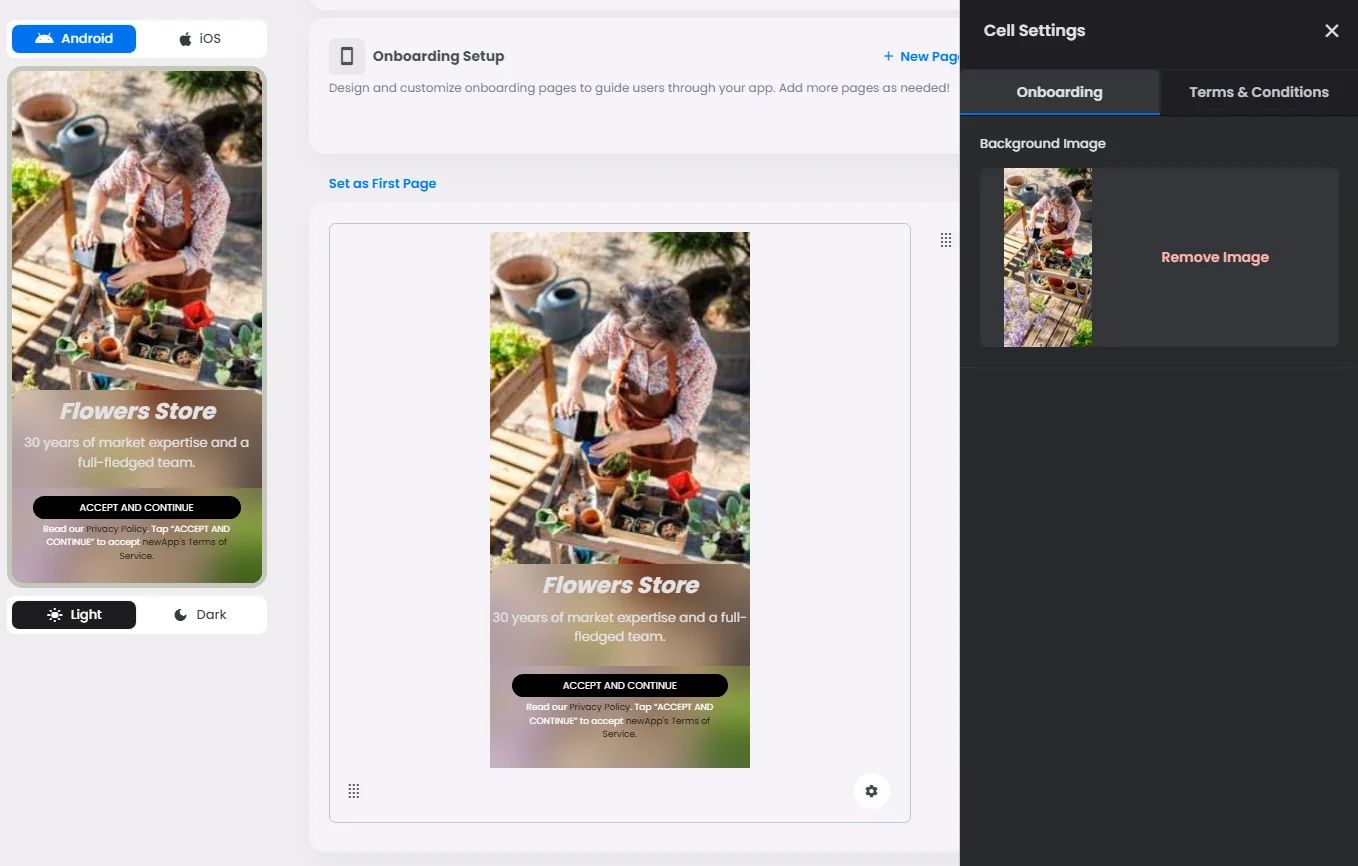
You can choose from these onboarding styles, which all have different looks:
And when you finish everything, don't forget to click 'Save App Config' to prevent your edits from getting lost.
