Creating Apple Developer Account
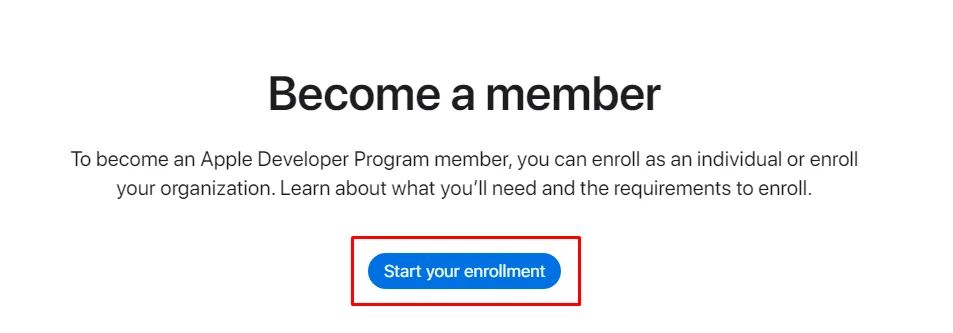
Go to the Apple Developer Program and sign up for an individual or organizational account.
Note that Apple will verify individual App Store Connect accounts within one to two working days. However, organizational accounts need extra verification to prove the existence of the organization, which could take several weeks. You must verify your account before you can create and publish.
Reusing an Existing Apple Developer Account
If you're using an older Apple ID to publish your app, ensure the following:
- Program Agreement—You must accept the latest Apple Developer Program License Agreement via App Store Connect, or you'll be blocked from uploading builds or accessing key features.
- Active Membership—Make sure your Apple Developer Program membership is active. If it has expired, visit developer.apple.com/account to renew it (annual fee: $99 USD).
- Organization Accounts—For company accounts, confirm that your DUNS number and legal entity name are still valid and up-to-date.
❗Apple does not automatically reactivate inactive developer accounts. Even if you can sign in, you won’t be able to use developer tools until these steps are completed.
Configure App Company Details
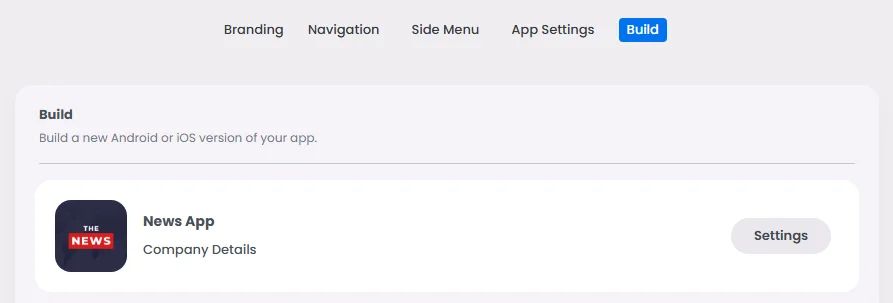
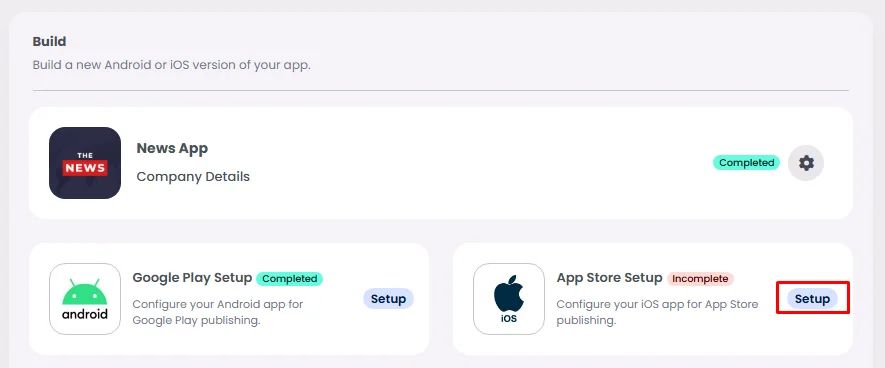
From your app builder, go to the Build page. In order to configure your app store setup and generate an iOS release, you need to fill out your 'Company Details' first. Click 'Settings.’
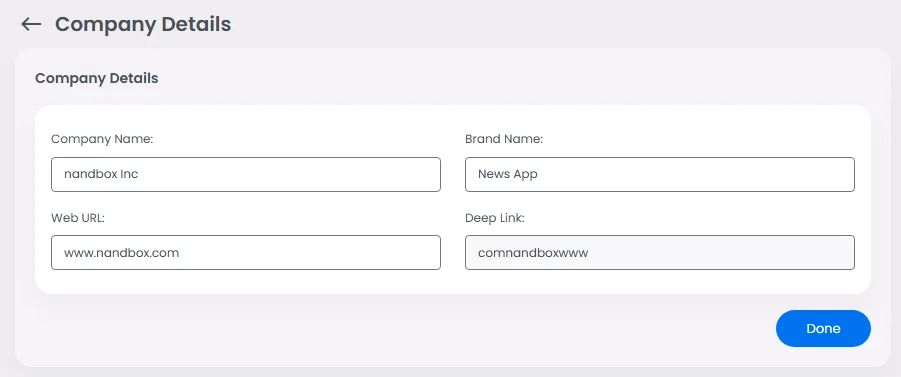
- Add your brand name and company name.
- To generate the deep link, you must include your website. This section is required because it relates to Group Messaging; deep linking assists users in mentioning each other by name in a group conversation if your app has a chat group feature.
If you don't have a web page, you can use any random URL to generate a deep link.
Then click ‘Done.’
Configure App Store Setup
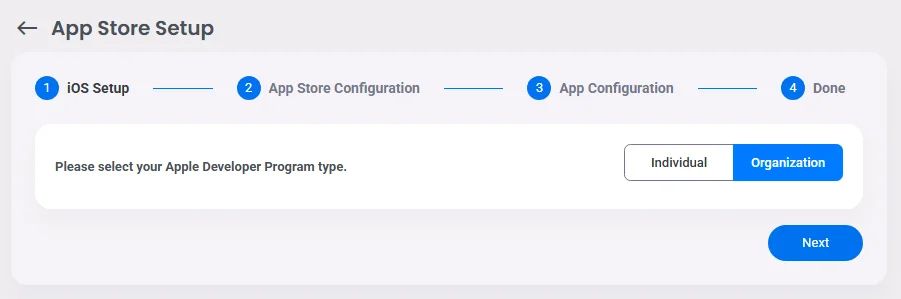
Now you need to set up your iOS information.
Choose whether you’re an individual or an organization, then click ‘Next. Make sure to match your selection with your Apple Developer account enrollment.
Individual
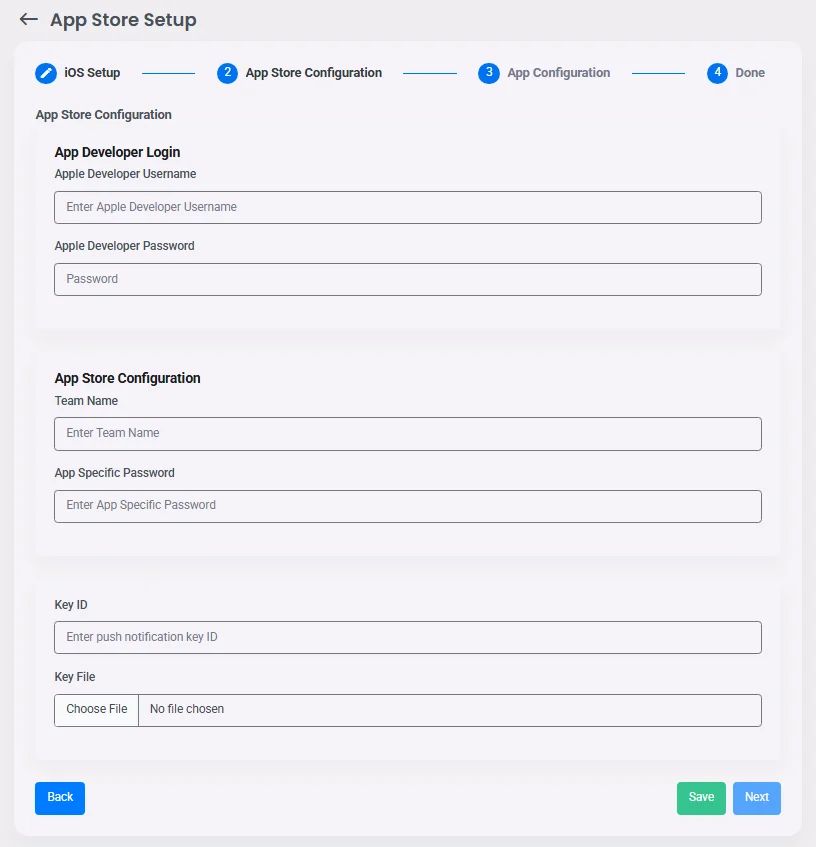
Here are all the requirements you should fill out; that’s why we advise you to create your Apple developer account in the first place, as you’ll need to fill out the following requirements from the account itself:
- Your account username.
- Your account password.
Click ’Confirm’ then ‘Next.’
Organization
Here are all the requirements you should fill out:
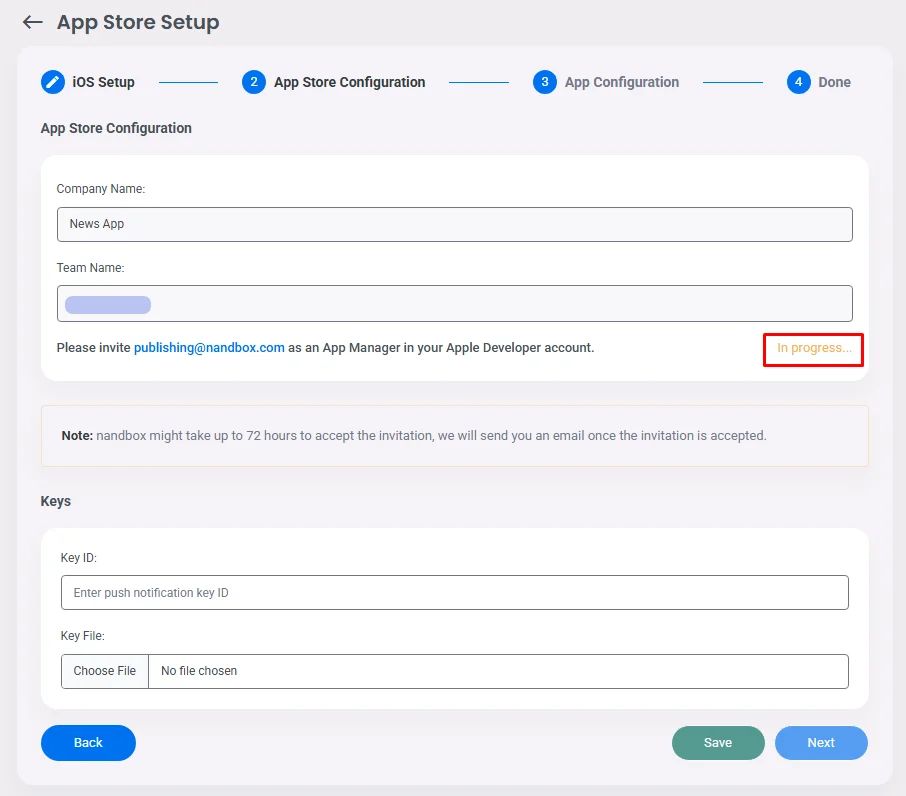
- Your Company Name.
- Your Team Name.
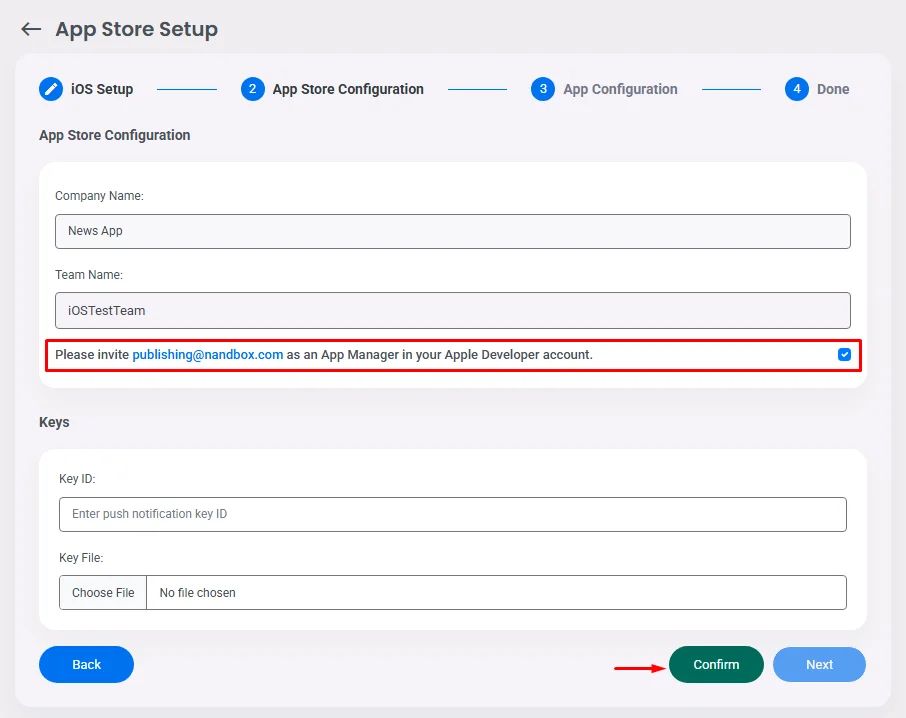
- Mark publishing@nandbox.com invitation.
Make sure to invite publishing@nandbox.com as an App Manager in your Apple developer account so that nandbox can handle the technical aspects of publishing and leave you to configure the app logo and description.
- Key ID & Key File.
Click ‘Confirm.’
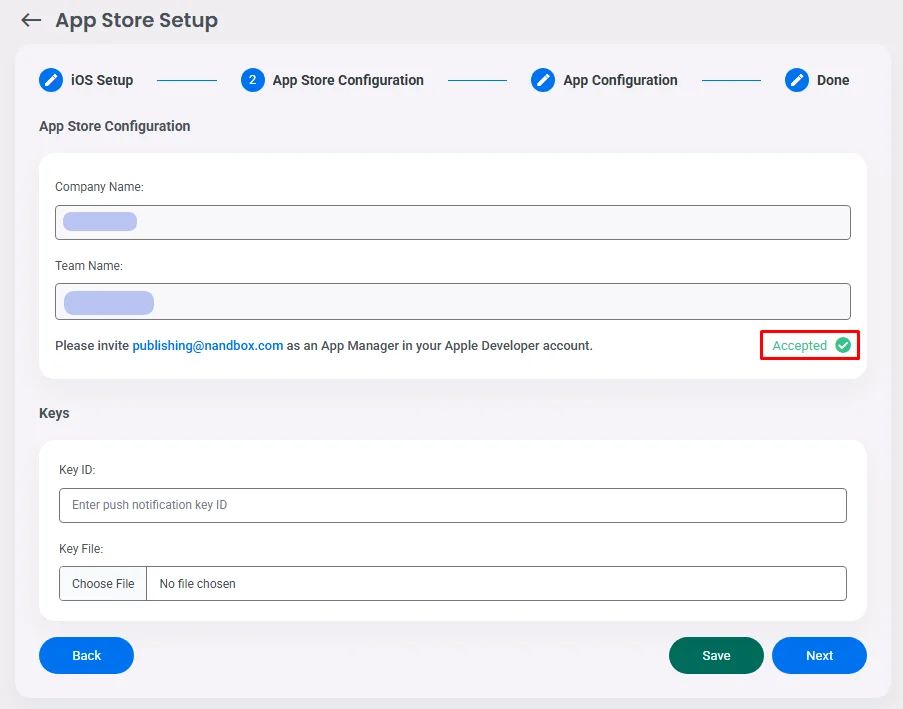
Wait till the invitation is accepted.
And nandbox will send you a confirmation message for accepting your invitation.

When accepted, click ‘Save’ and ‘Next.’
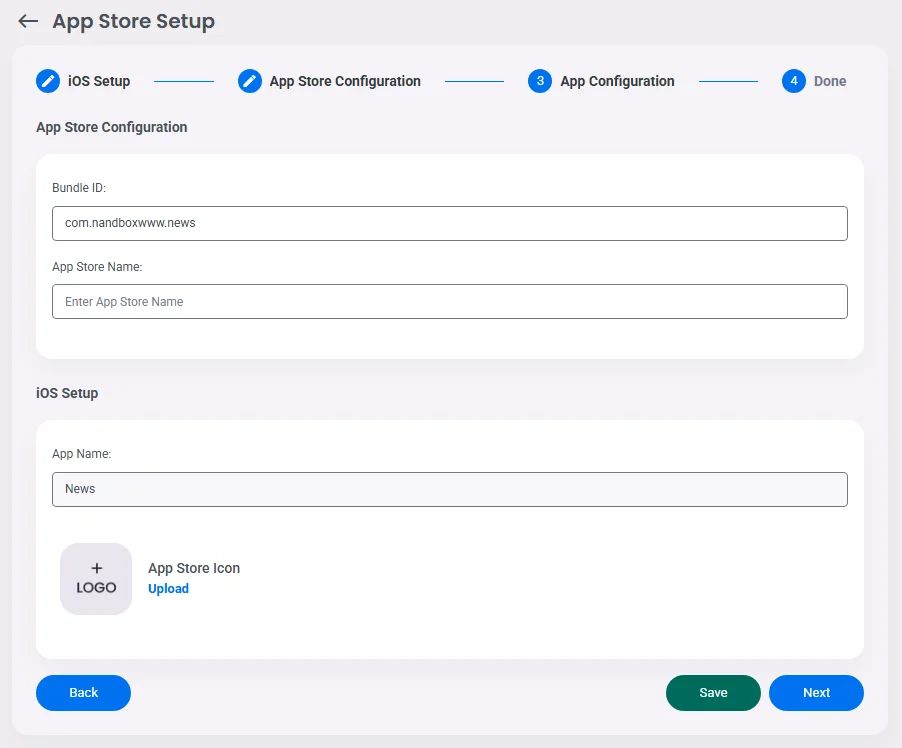
Continue with filling out these requirements:
- Add your app’s bundle ID.
- Add your App Store name.
- Your setup section will automatically include the app name you added on the branding page.
- Upload your app icon (JPG 1024 x 1024 px).
Keep in mind that even if you have already uploaded your app logo in the branding section, you still MUST upload it in your App Store Setup again.
Click ‘Save.’
Wait till it finishes running, then click ‘Next.’
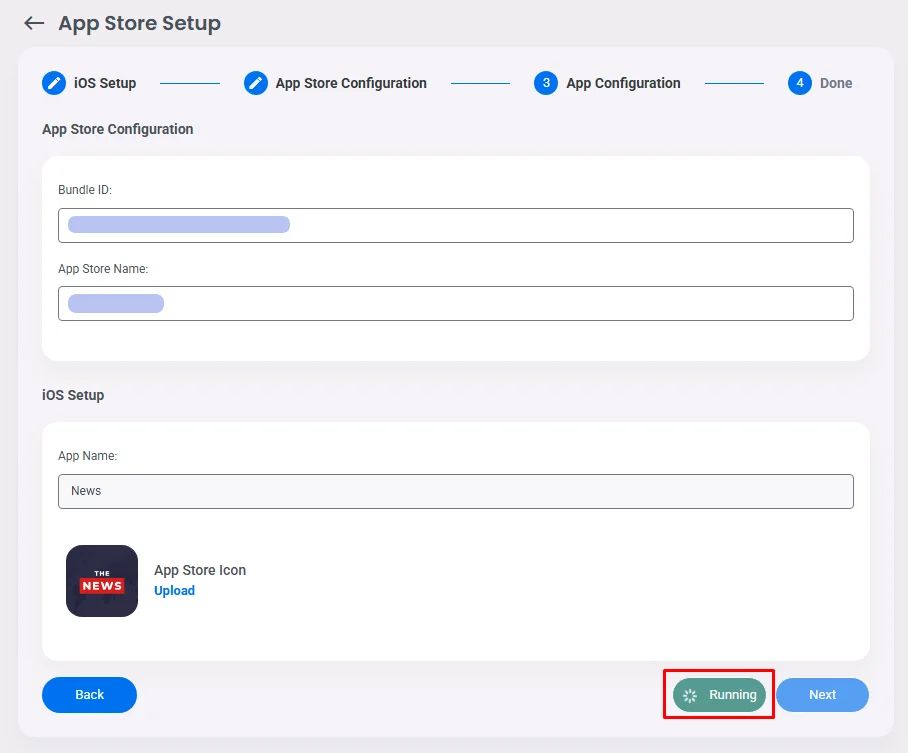
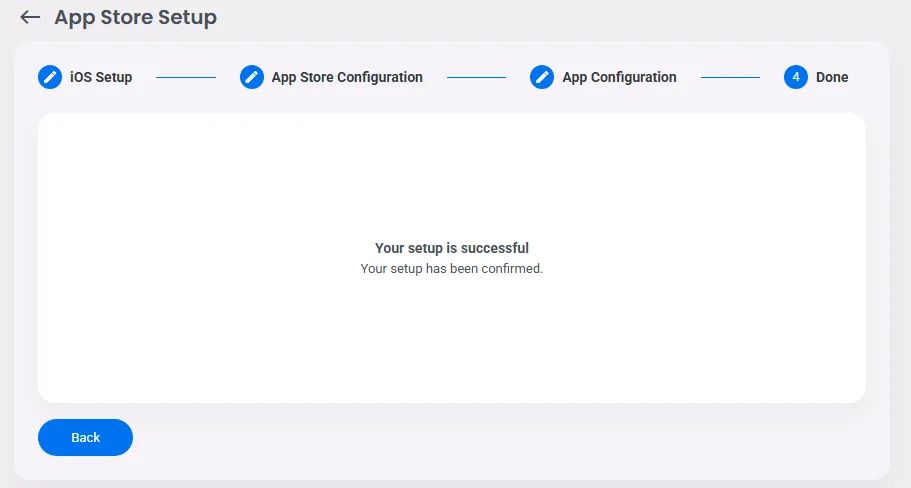
Congratulations! The process of setting up your app store is now complete.
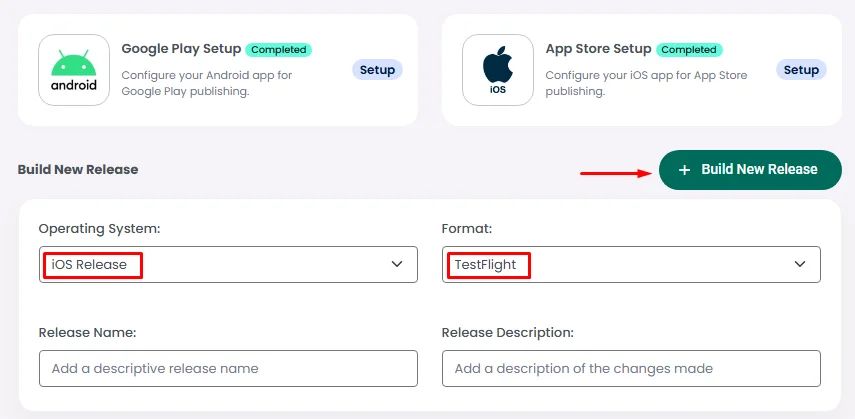
Now that your Apple Developer account is linked with your nandbox platform, make sure you install TestFlight on your device before building an iOS release. Now go back and build an iOS release.
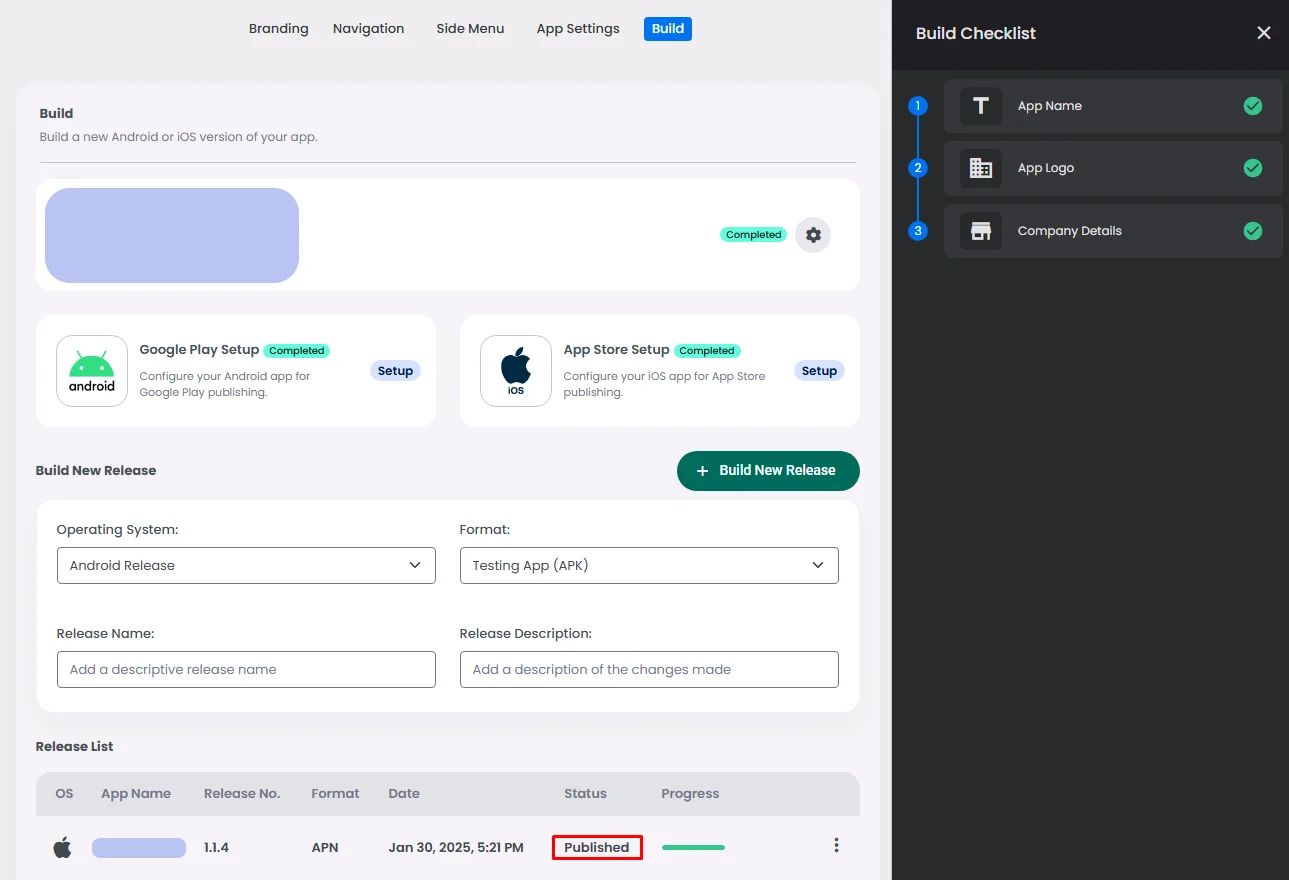
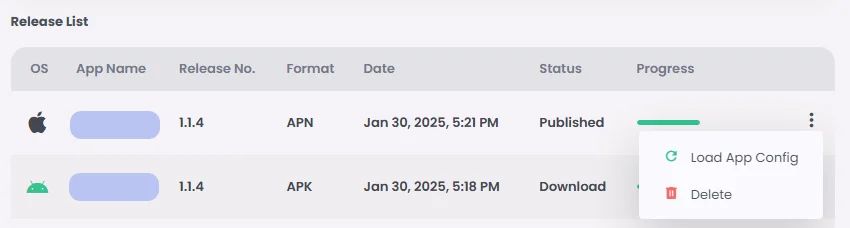
Once the status is ‘published,’ your app is automatically uploaded to TestFlight and ready for testing.
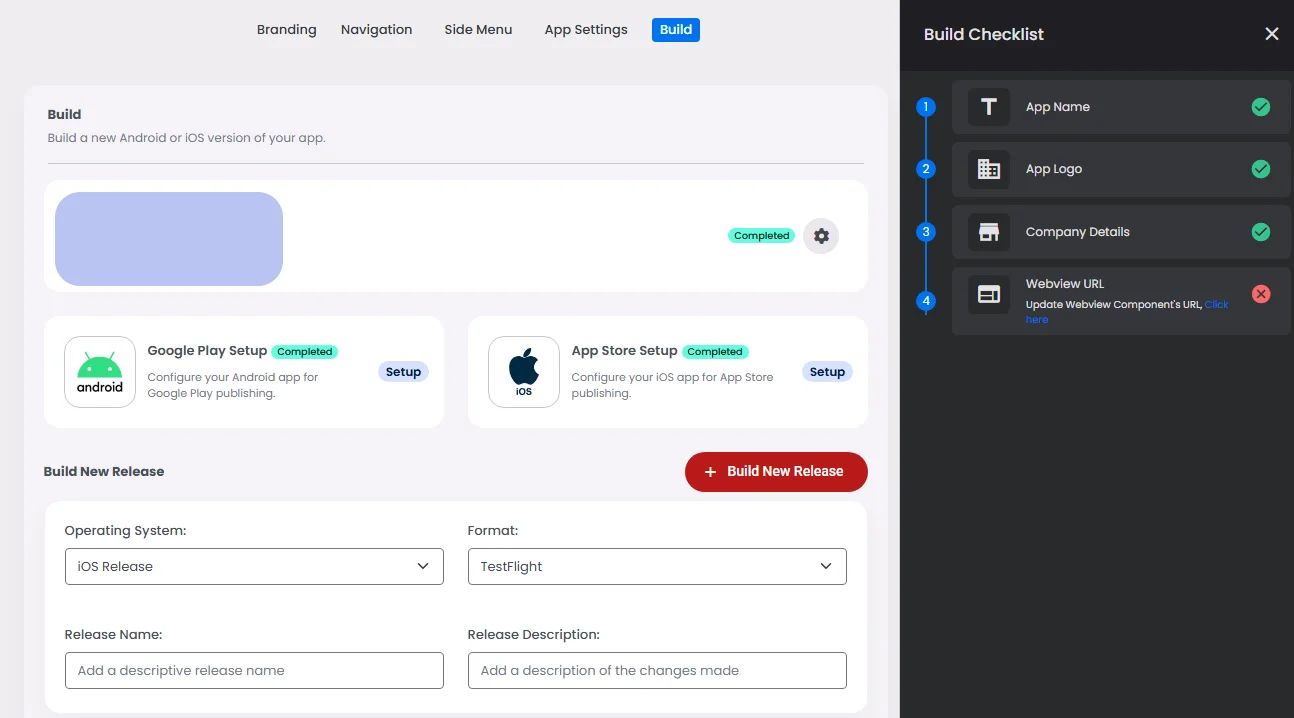
Note that once you click + Build New Release, a checklist will appear. For example, if you added a webview component to your app but forgot to include the preview link, the checklist will alert you to add it or the platform will reject your build release. This process ensures that nothing is missing from your app.
You can always delete the version you released, or if you made any changes, you can also restore the version by clicking ‘Load App Config.’
Invite nandbox as App Admin
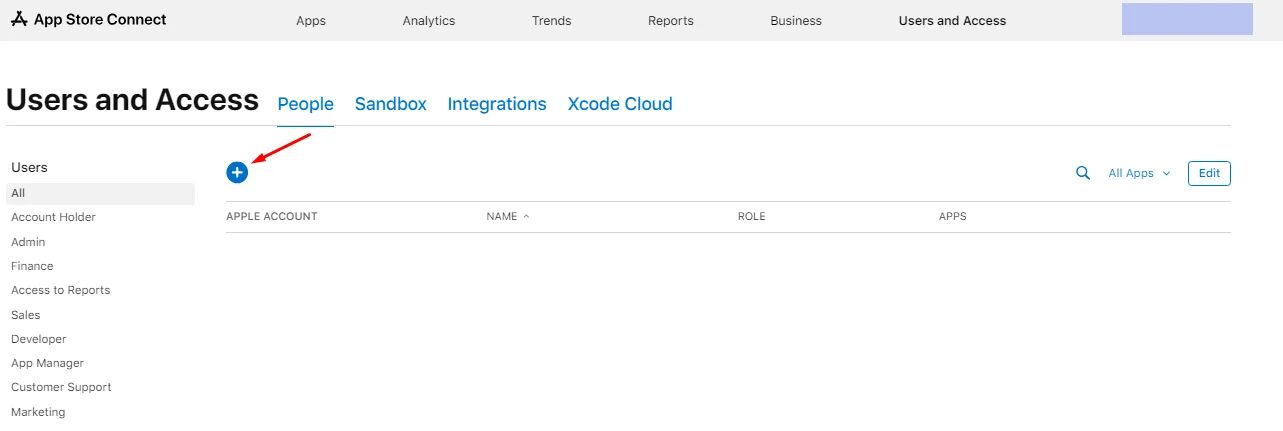
Sign in to your Apple Store Connect, go to the ‘Users and Access’ page, and click the (+) icon.
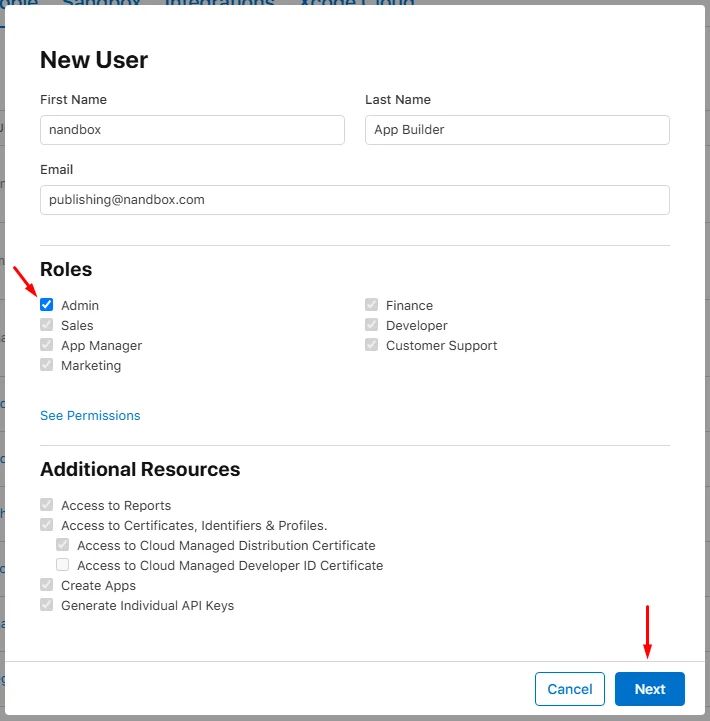
- Add a random first and last name.
- Add Email: publishing@nandbox.com
- Mark 'Admin.’
- Then, click 'Next.'
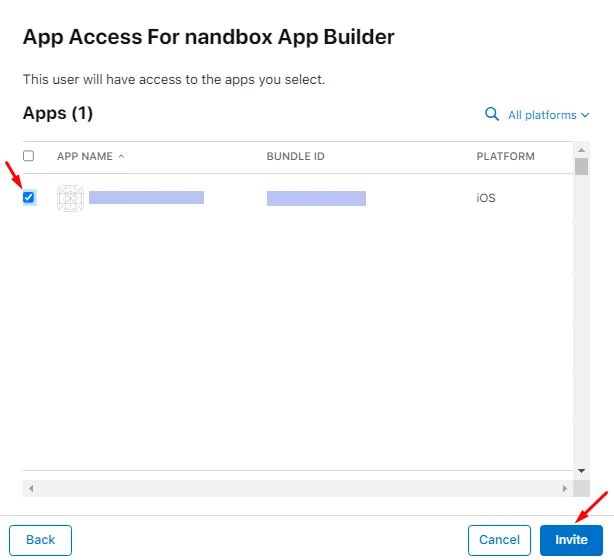
- Mark your app and click ‘Invite.’