Test Your App With TestFlight
Go to your App Store Connect and click ‘My Apps’.
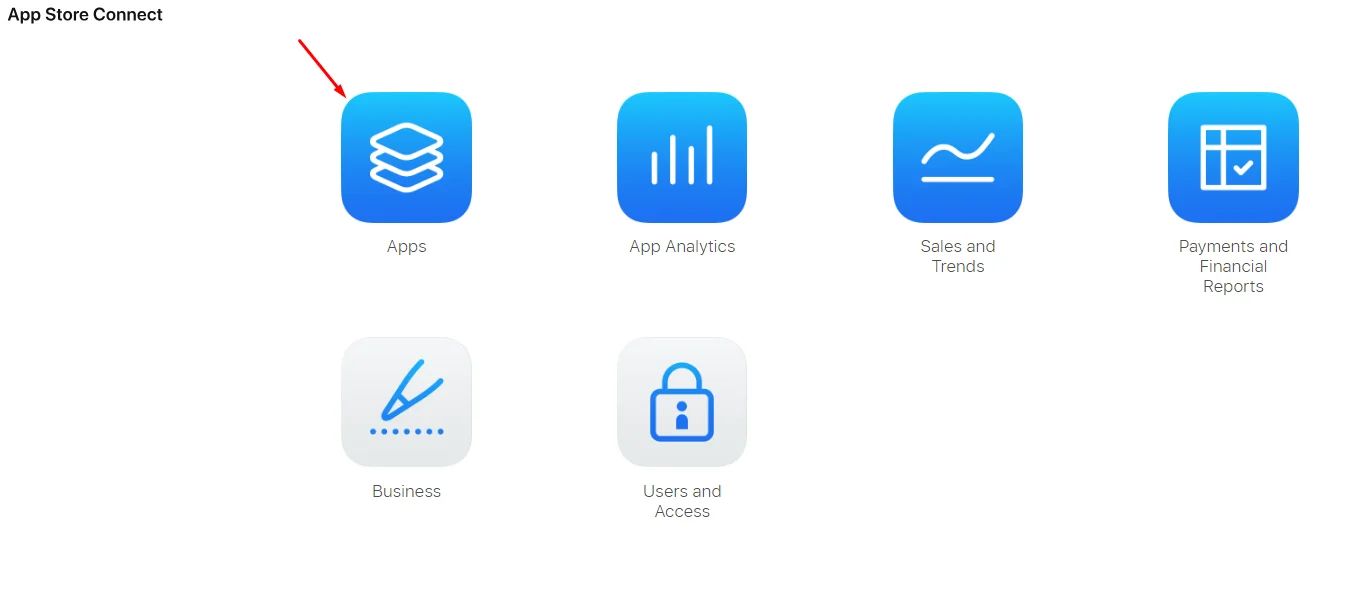
You will find your release uploaded successfully. Click your app.
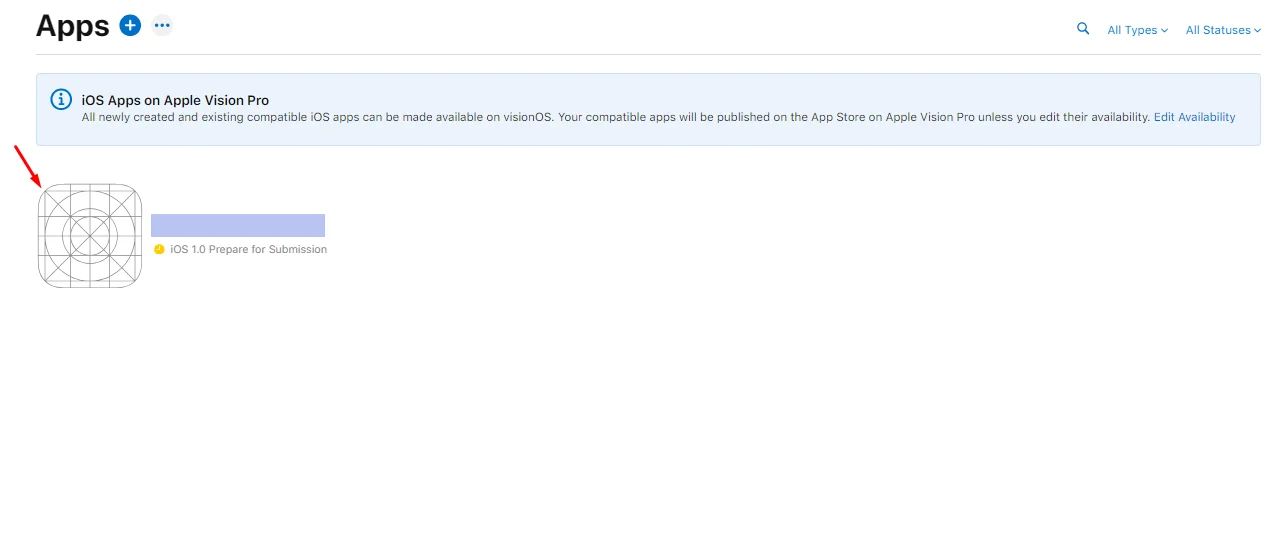
Now that you're inside your app profile, click TestFlight.

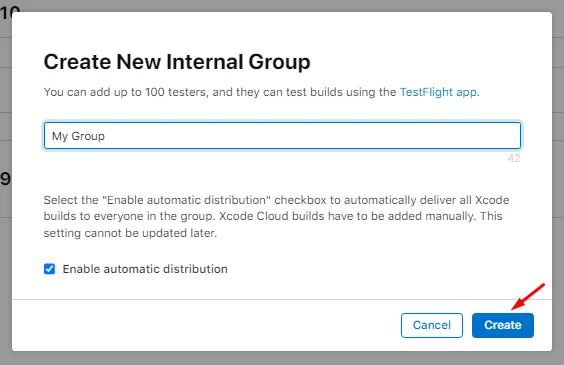
Click the (+) button of Internal Testing.

Choose a group name and click ‘Create’. This group is for adding testers to test your app.
Assigning Testers on TestFlight
After creating your group, click "Users and Access" at the top bar.
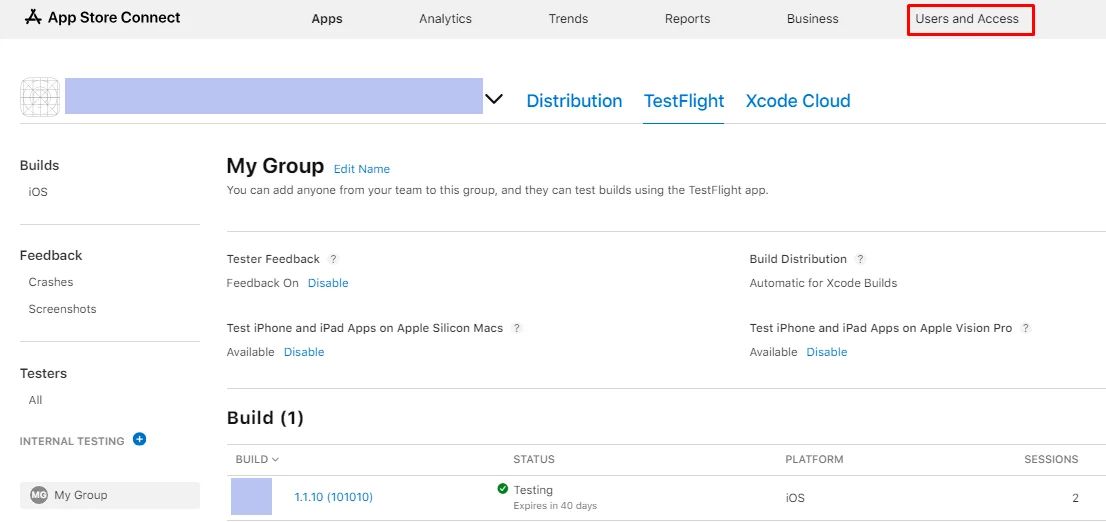
In the People section, click the (+) icon to assign a user.

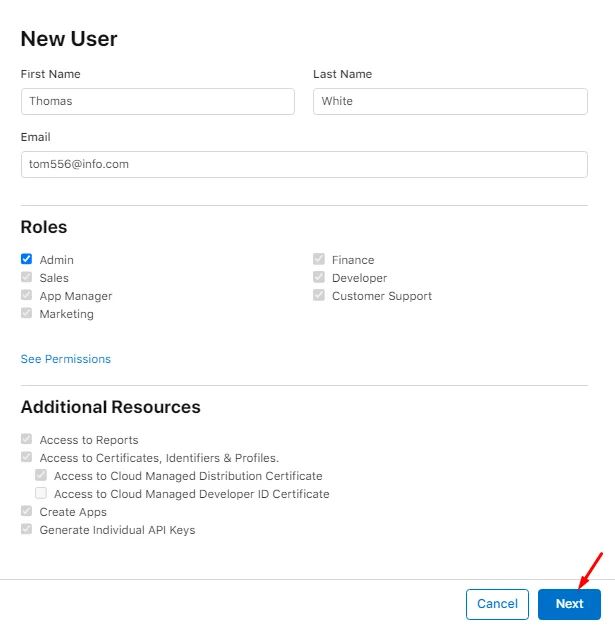
Fill out the New User form:
- First & Last Name
- Assign the user's role.
- Additional resources will be automatically selected according to your added role.
- Click ‘Next’.
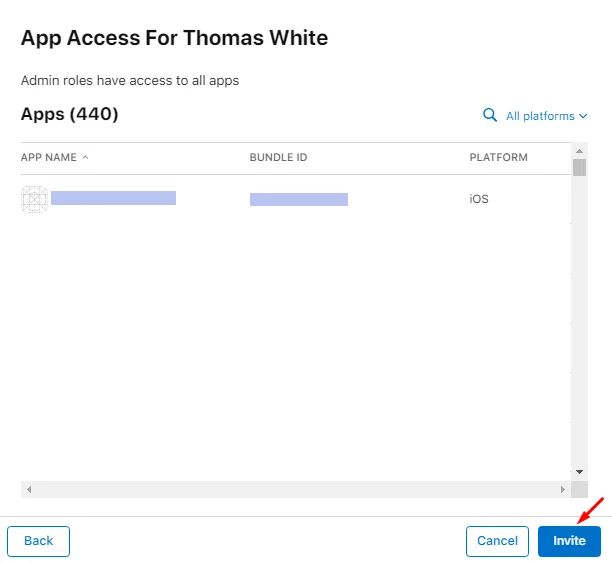
- Then, click ‘Invite’.
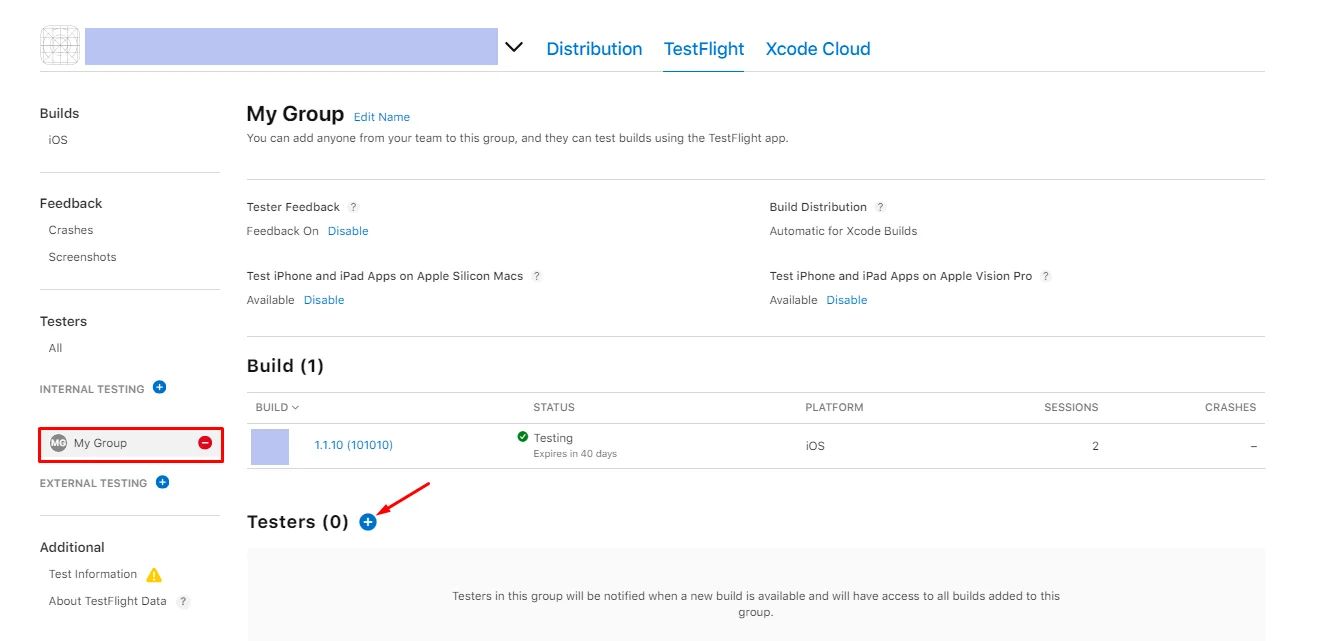
Make sure that your testers have installed TestFlight for the testing process. You can enable the feedback setting if you need your tester’s feedback.
After adding all your users, go back to your newly created group and click the (+) icon to add your testers.
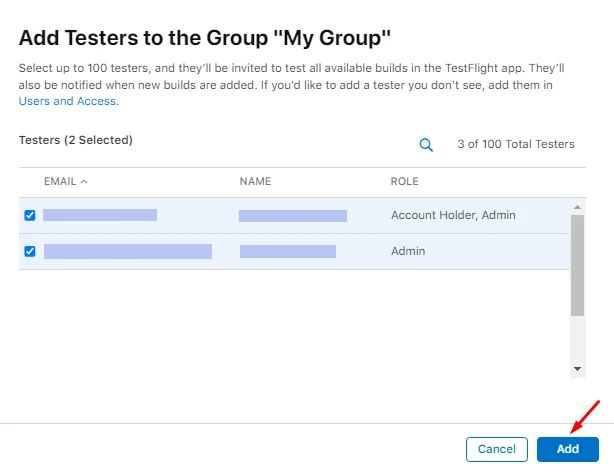
Select your testers and click "Add".
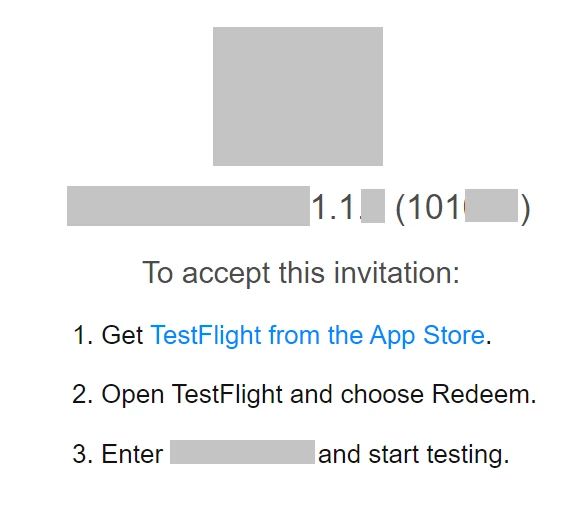
A verification code will be sent to your tester’s mailbox. TestFlight will also inform them to add the verification code they received. Once added, your app will appear on their devices; click it and start testing.
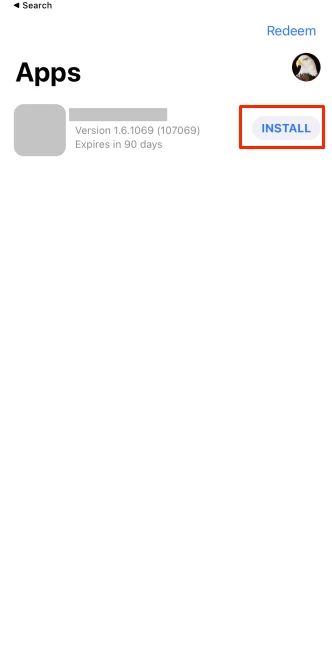
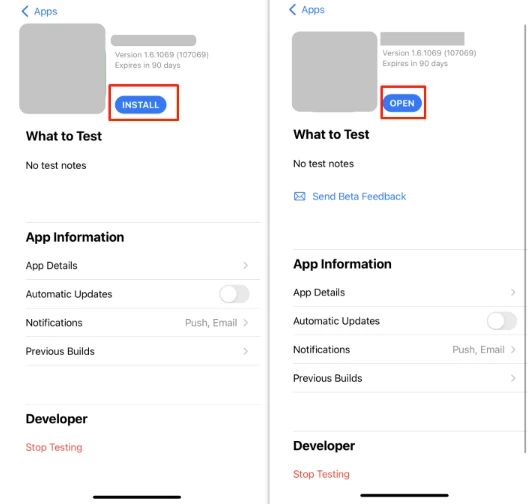
After submitting your app on TestFlight, click "Install" to access your app.
Once installed, you’re ready to click "Open" and start testing your app with your testing group.
After finishing your app's internal testing, once it is done, your app status will be changed to "Ready to Submit," and you can proceed with the next steps.

